

Picture this: the sun blazes overhead, and you’ve just crushed an intense workout. As you wipe the sweat from your brow, a bottle of homemade diy electrolyte drink beckons like a cool oasis in the desert. This vibrant concoction bursts with zesty flavors that dance on your tongue, invigorating your senses with every sip while its refreshing chill provides instant relief. Imagine the tangy kick of citrus mingling with a hint of sweetness, all wrapped up in a hydrating embrace that makes you feel alive again.
Remember those scorching summer days spent playing outside until dusk, when nothing felt better than quenching your thirst with something oh-so-cold? This diy electrolyte drink captures that nostalgic essence, making it the perfect companion for post-workout recovery or lazy afternoons. With each glass, you’ll not only savor a delightful blend of flavors but also experience the joy of rehydration that leaves you feeling revitalized and ready to tackle whatever comes next.
Why Is diy electrolyte drink So Irresistibly Good?
Refreshing hydration: This drink combines filtered water and coconut water, ensuring you stay replenished after workouts or on hot days.
Natural sweetness: A touch of honey (or maple syrup) adds a delightful sweetness without overpowering the flavor.
Electrolyte boost: With just a pinch of salt, this recipe helps restore essential minerals, making it perfect for recovery.
Citrusy zing: The addition of fresh lemon juice elevates the taste, providing a bright, invigorating twist that everyone will love!
Quick preparation: Whip it up in just 10 minutes, making it an easy go-to drink for busy lifestyles.
diy electrolyte drink Ingredients
- 4 cups Water (Filtered or spring water) – This serves as the hydrating base for your drink, helping to replenish lost fluids.
- 1 cup Coconut water (Natural coconut water) – Packed with electrolytes, it adds a natural sweetness and enhances hydration.
- 1 tablespoon Honey (Or maple syrup for vegan option) – A touch of sweetness to balance the tartness, providing quick energy post-workout.
- 1/4 teaspoon Salt (Sea salt or Himalayan salt) – Essential for replenishing electrolytes lost during sweating and enhancing flavor.
- 1 tablespoon Lemon juice (Freshly squeezed) – Adds a refreshing zing and boosts vitamin C content in your diy electrolyte drink.
How to Make diy electrolyte drink
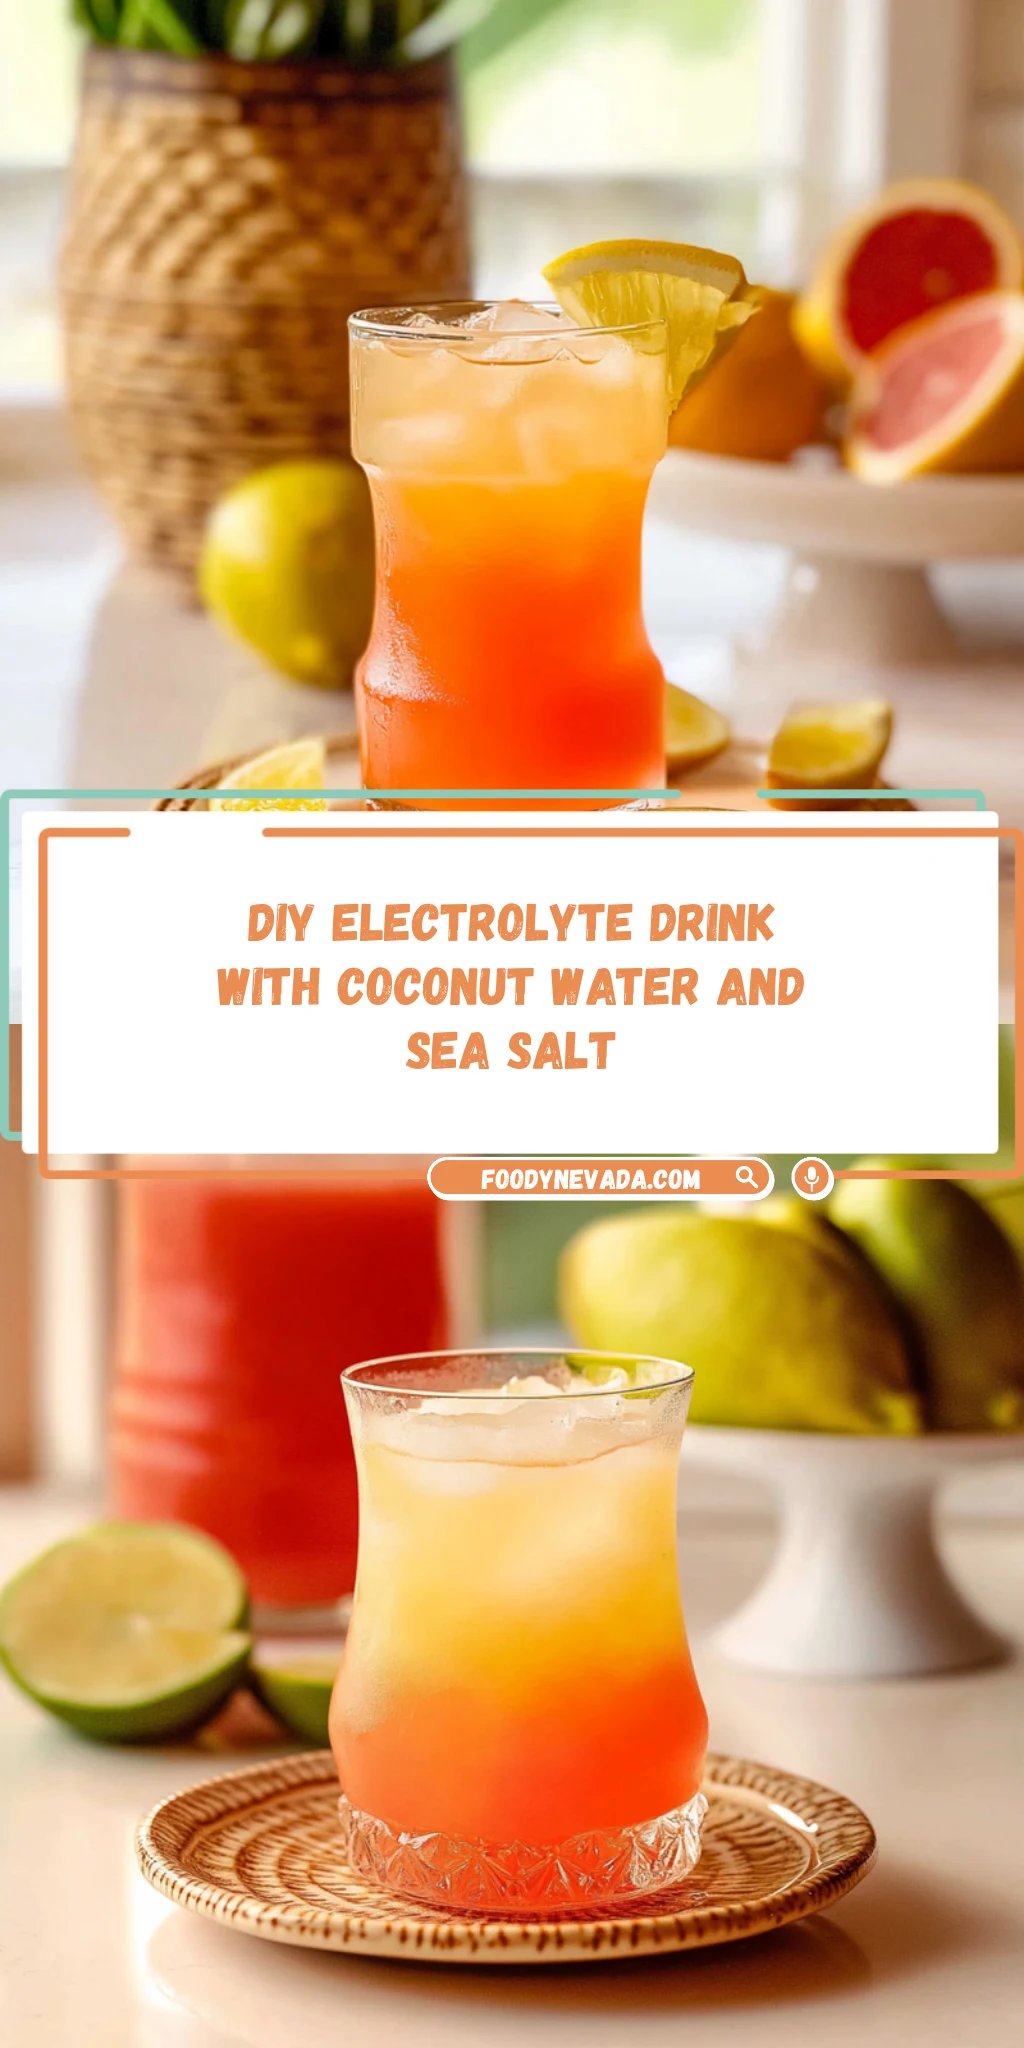
1. Combine Ingredients: In a mixing bowl, combine 4 cups of filtered or spring water, 1 cup of natural coconut water, 1 tablespoon of honey (or maple syrup for a vegan option), 1/4 teaspoon of sea salt or Himalayan salt, and 1 tablespoon of freshly squeezed lemon juice.
2. Whisk Together: Whisk the ingredients together thoroughly until the honey and salt are fully dissolved. This should take about 1-2 minutes, and you’ll see the mixture become a refreshing blend.
3. Chill the Drink: Pour the mixture into a bottle or pitcher and refrigerate until chilled, about 30 minutes. Chilling enhances the refreshing quality of your homemade electrolyte drink!
4. Serve & Enjoy: Serve over ice if desired. Feel free to garnish with a slice of lemon for an extra touch of freshness! Enjoy your hydrating creation!
Optional: Garnish with fresh mint leaves for added flavor.
Exact quantities are listed in the recipe card below.
Expert Tips
- Water Quality: Use filtered or spring water for the best taste and to avoid impurities that can alter your diy electrolyte drink.
- Coconut Water Choice: Opt for natural coconut water without added sugars; this enhances hydration without unnecessary calories.
- Honey Alternatives: If using maple syrup, ensure it’s pure to maintain the flavor balance of your diy electrolyte drink.
- Salt Type Matters: Choose sea salt or Himalayan salt; they contain essential minerals that aid in rehydration more effectively than regular table salt.
- Mixing Technique: Whisk thoroughly until all ingredients are fully dissolved; this prevents gritty texture and ensures a smooth finish.
- Chill Before Serving: Refrigerate the drink well before serving; it enhances refreshment, especially on hot days after workouts.
How to Store and Freeze diy electrolyte drink
- Fridge: Store your diy electrolyte drink in an airtight container in the fridge for up to 3 days for maximum freshness and flavor.
- Freezer: For longer storage, pour the drink into ice cube trays and freeze. Once frozen, transfer to a zip-top bag for up to 1 month.
- Thawing: To enjoy the frozen cubes, simply thaw them in the fridge overnight or blend them directly into a smoothie for a refreshing treat.
- Avoid Room Temperature: Keep your diy electrolyte drink out of room temperature for extended periods to prevent spoilage. Always refrigerate after preparation.
diy electrolyte drink Variations
Feel free to get creative and tailor this refreshing drink to your taste buds and dietary needs!
- Herbal Infusion: Add a few sprigs of fresh mint or basil for a delightful herbal twist. This adds a refreshing aroma that elevates your hydration experience.
- Fruit-Infused: Toss in slices of cucumber, berries, or oranges for a burst of natural sweetness. Each sip will be packed with delightful fruity notes that keep things interesting!
- Spicy Kick: Mix in a pinch of cayenne pepper for a little heat. This spicy addition can give you an energizing lift while keeping you hydrated.
- Creamy Coconut: Replace half the water with additional coconut water for a richer texture. The tropical flavor will transport you straight to the beach with every sip.
- Berry Blast: Blend in pureed strawberries or blueberries for added antioxidants and vibrant color. Not only does it look beautiful, but it also enhances the drink’s nutritional profile.
- Electrolyte Boost: Substitute regular salt with potassium-rich salt alternatives like lite salt. This small change can help replenish essential minerals lost during workouts.
- Zesty Citrus: Experiment with lime or grapefruit juice instead of lemon for a tangy twist. The zesty flavor will awaken your senses and make hydration feel exciting.
- Sweetener Swap: Use agave nectar or stevia instead of honey for a different sweetness level. This allows you to customize the flavor while accommodating various dietary preferences.
Make Ahead Options

This refreshing diy electrolyte drink is perfect for meal prep, allowing you to stay hydrated without any fuss. You can easily prepare the base ingredients—4 cups of filtered water, 1 cup of natural coconut water, and 1 tablespoon of honey (or maple syrup for a vegan option)—up to 3 days in advance. Simply combine these with 1/4 teaspoon of sea salt and 1 tablespoon of freshly squeezed lemon juice in a mixing bowl. After whisking until fully dissolved, pour the mixture into a pitcher and refrigerate it until chilled. When you’re ready to serve, just give it a good stir, pour it over ice if desired, and enjoy your homemade electrolyte drink! This way, you’ll always have a revitalizing beverage on hand after workouts or during those hot summer days.
diy electrolyte drink Questions Answered
What type of water should I use for my diy electrolyte drink?
You can use either filtered or spring water for the best flavor and health benefits. Filtered water will help remove any impurities, while spring water offers a refreshing taste that complements the other ingredients beautifully.
Can I replace coconut water with anything else?
While coconut water is a fantastic natural source of electrolytes, you can substitute it with an equal amount of regular water mixed with a pinch of additional salt. However, you’ll miss out on that unique, slightly sweet flavor and extra hydration benefits that coconut water provides.
How should I store my homemade electrolyte drink?
After mixing your diy electrolyte drink, pour it into a bottle or pitcher and refrigerate. It stays fresh for up to 3 days, but it’s best enjoyed within the first 24 hours for optimal flavor and hydration. Just give it a good shake before serving to mix everything evenly!
Can I freeze this electrolyte drink?
Yes! You can freeze your diy electrolyte drink in ice cube trays for a fun addition to smoothies or as refreshing ice cubes for future drinks. Just remember that freezing may alter the texture slightly, so it’s best enjoyed freshly made whenever possible.
Is this recipe suitable for special diets?
Absolutely! If you’re looking for a vegan option, simply swap honey for maple syrup. This drink is naturally gluten-free and dairy-free, making it a great choice for almost anyone seeking hydration without compromising dietary restrictions.
What is the recommended serving size for this drink?
This recipe yields about 4 servings, with each serving containing approximately 50 calories. It’s perfect as a post-workout refreshment or simply as a delicious way to stay hydrated on hot days! Enjoy over ice for an extra chill!
DIY Electrolyte Drink
Ingredients
Method
- In a mixing bowl, combine the water, coconut water, honey, salt, and lemon juice.
- Whisk the ingredients together until the honey and salt are fully dissolved.
- Pour the mixture into a bottle or pitcher and refrigerate until chilled.
- Serve over ice if desired, and enjoy your homemade electrolyte drink!