
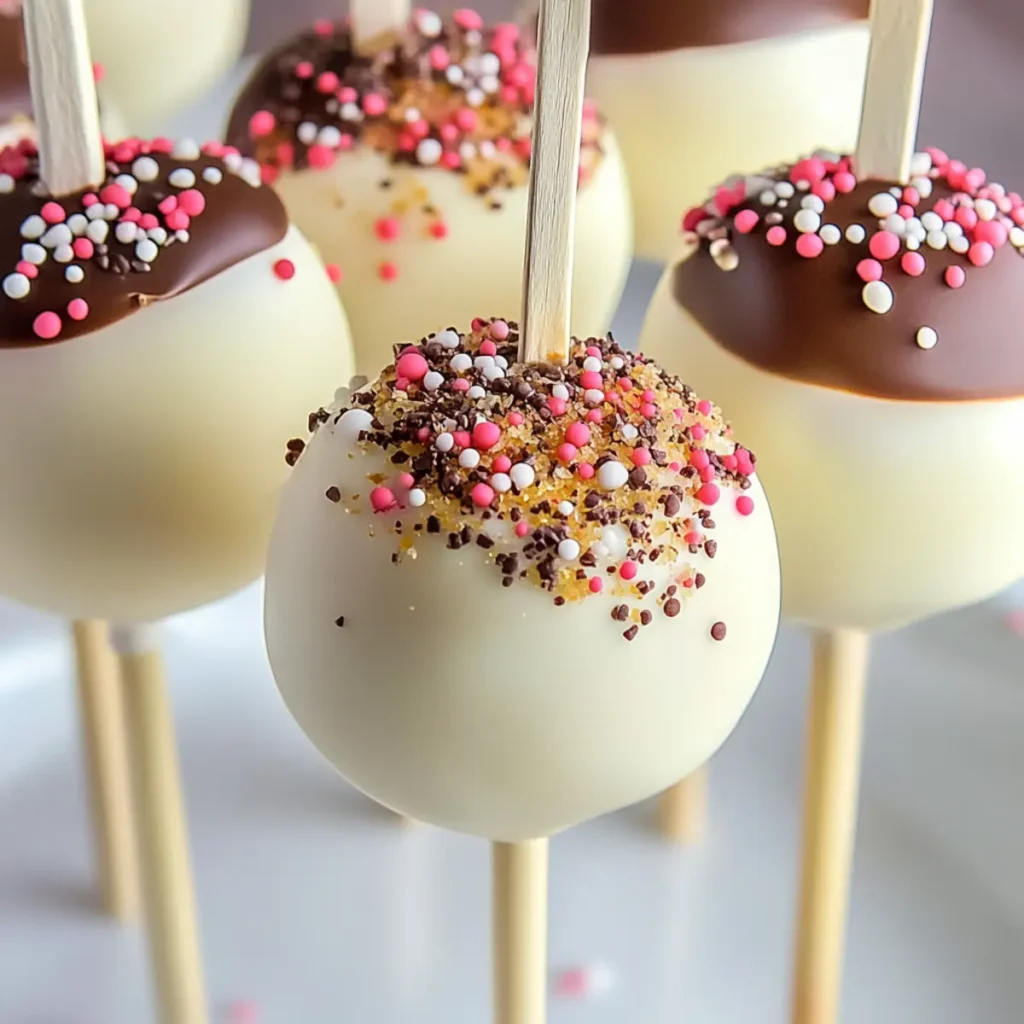
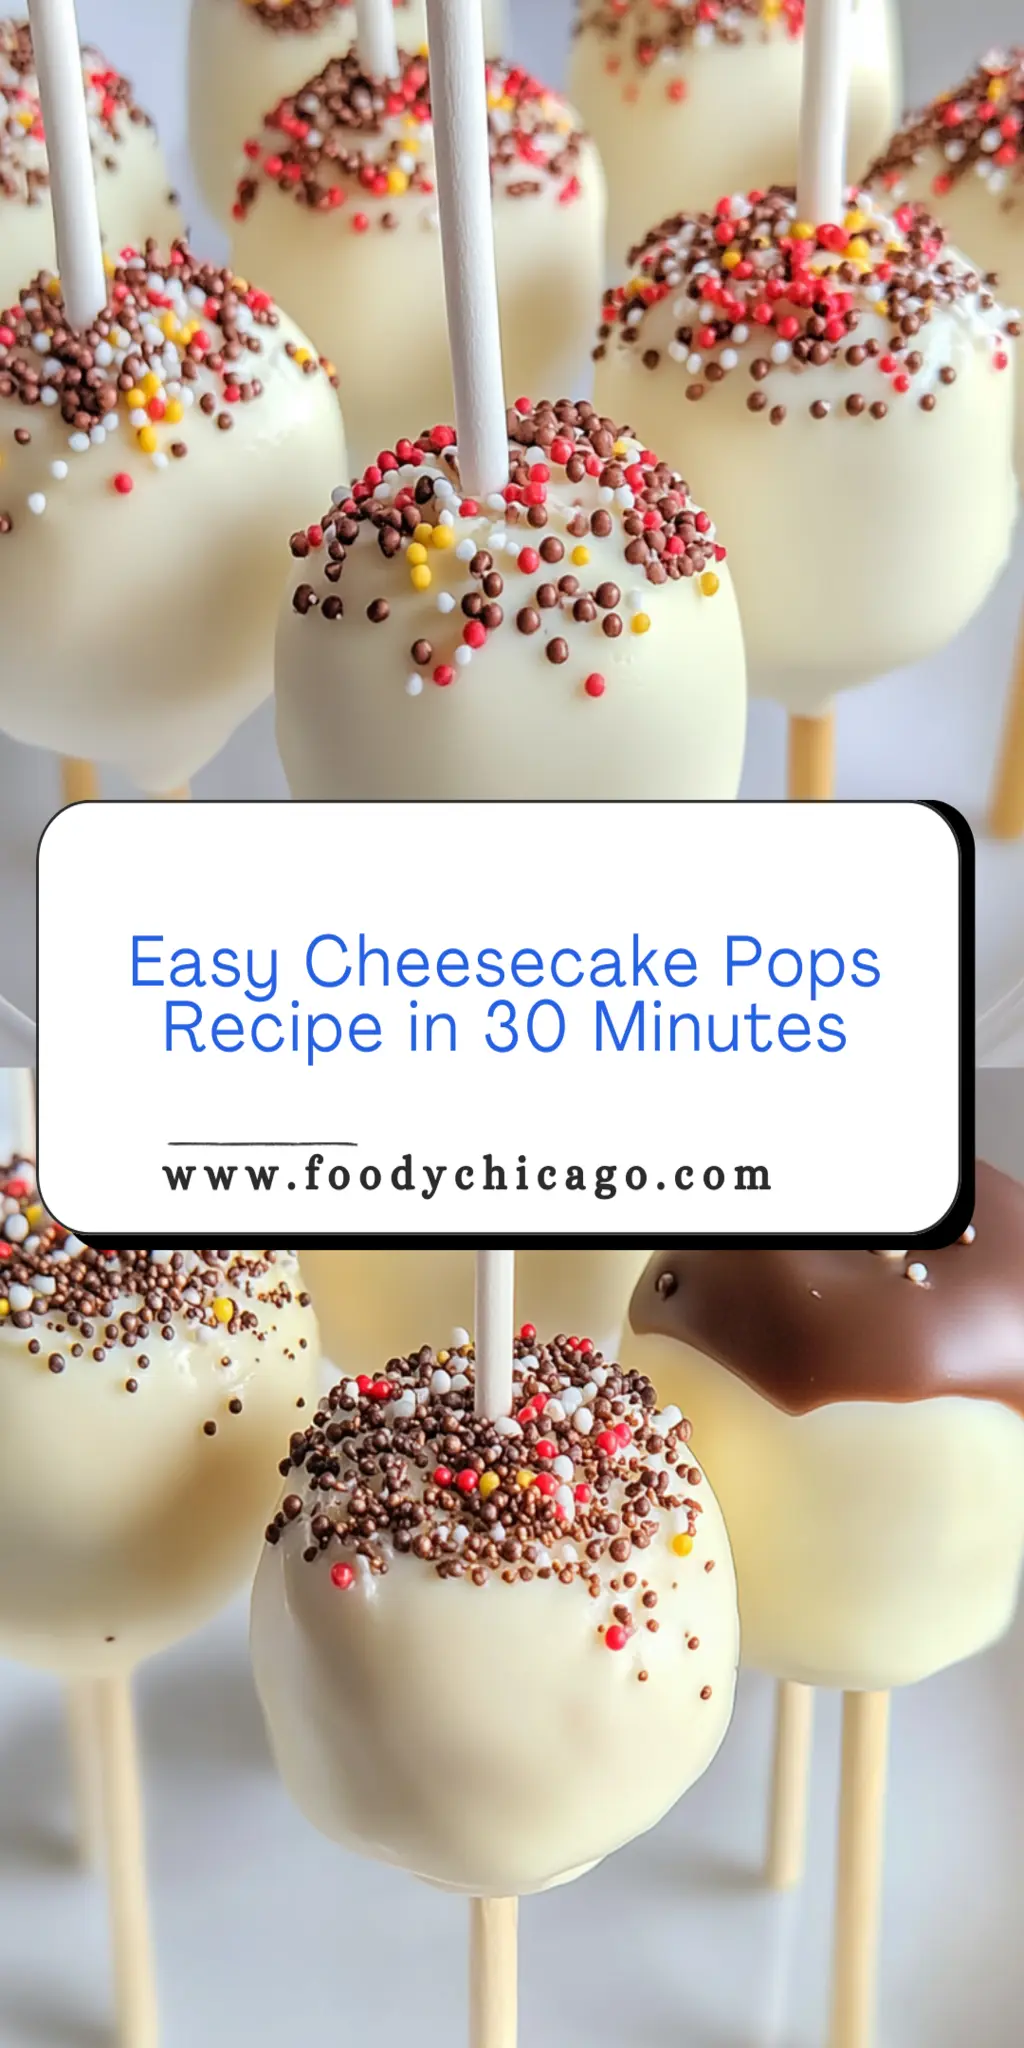
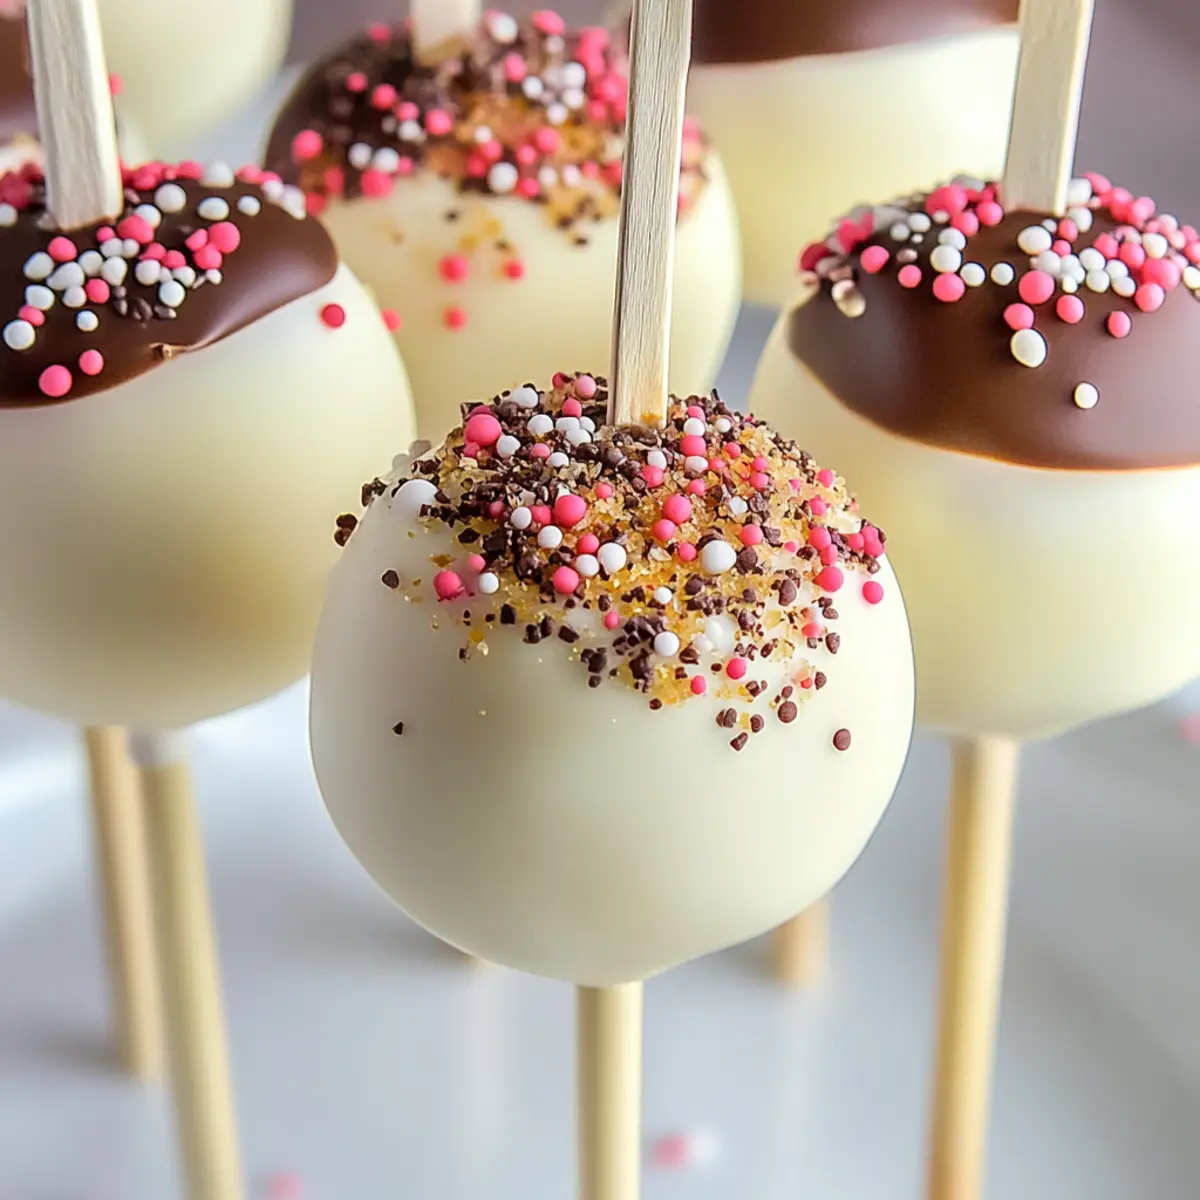
There are few things in life as delightful as biting into a creamy Cheesecake Pop, where the rich flavors dance on your tongue and the sweet chocolate coating creates a wonderful crunch. These little bites of heaven not only look tempting but taste absolutely divine, making them a standout treat for any occasion.
Imagine a summer afternoon, surrounded by friends, laughter, and the irresistible scent of creamy cheesecake wafting through the air. As you pop one of these cheesecake wonders into your mouth, the cool texture and sweet chocolate blend seamlessly, instantly transporting you to dessert paradise. Whether you’re hosting a party, looking for a fun family activity, or simply trying to satisfy that sweet craving, Cheesecake Pops will be your new go-to.
Why You'll Love This Cheesecake Pops
- This incredible Cheesecake Pops transforms simple everyday ingredients into restaurant-quality flavors that will blow your mind completely.
- Foolproof recipe techniques guarantee perfect results every single time, making even novice cooks feel like professional chefs instantly.
- Stunning visual appeal with gorgeous colors and mouthwatering aromas creates the ultimate Instagram-worthy dish for any special occasion.
- Endlessly adaptable for different dietary needs while working beautifully for meal prep, date nights, or entertaining large groups effortlessly.
Ingredients for Cheesecake Pops
Here’s what you’ll need to make this delicious Cheesecake Pops:
8 oz cream cheese – Choose full-fat cream cheese for the richest flavor and smoothest texture. Make sure it’s softened for easy mixing.
1 cup powdered sugar – This sweetener gives the pops their delectable sweetness and helps create that creamy texture.
1 tsp pure vanilla extract – Opt for pure vanilla for the best taste. It enhances the overall flavor of your cheesecake deliciously.
1 cup semi-sweet chocolate chips – Use high-quality chocolate for the best coating. You can also try dark chocolate for a twist!
10 popsicle sticks – These will help us make those adorable pops, so ensure they’re sturdy enough to hold the weight of the cheesecake.
How to Make Cheesecake Pops
Follow these simple steps to prepare this delicious Cheesecake Pops:
Step 1: Mix the Cream Cheese
In a mixing bowl, beat the softened cream cheese until it’s completely smooth. Don’t be afraid to channel your inner rockstar! Gradually add the powdered sugar and vanilla extract, blending until the mixture is fluffy and heavenly.
Step 2: Form the Cheesecake Balls
Scoop out one-inch portions of the creamy mix and roll them into delightful little balls. Place each ball on a parchment-lined baking sheet, and don’t forget to insert a popsicle stick into each one. This is where the fun begins!
Step 3: Freeze the Pops
Now, it’s time for a little chill time! Pop the baking sheet into the freezer for about 30 minutes, allowing those cheesecake balls to firm up nicely. It’s the perfect excuse to enjoy a quick coffee break!
Step 4: Melt the Chocolate
Grab a microwave-safe bowl and add the semi-sweet chocolate chips. Microwave them in 15-second intervals, stirring in between, until you have a smooth, gooey chocolate delight. Make sure to resist the urge to dip your fingers in—this is for the pops!
Step 5: Dip the Cheesecake Pops
Once your pops are firm, dip each one into the melted chocolate. Get it good and coated! Let any excess chocolate drip off before placing them back on the parchment paper. Your mouth may water just looking at these beauties!
Step 6: Final Chill
Allow the chocolate-covered pops to chill at room temperature for about 5 minutes before returning them to the freezer for another 10–15 minutes. This step is crucial to ensure the chocolate sets perfectly.
Serving suggestion: Arrange these Cheesecake Pops on a platter and watch as your friends devour them! They make a fantastic dessert for parties and gatherings or simply for indulging yourself.
With their easy preparation, creamy flavor, and visual appeal, Cheesecake Pops are bound to become a household favorite. Enjoy crafting these delectable bites and don’t forget to share them—if you can resist the temptation to eat them all yourself!
You Must Know About Cheesecake Pops
- This showstopping Cheesecake Pops delivers restaurant-quality results using simple ingredients you probably already have at home.
- The perfect balance of textures and flavors creates an unforgettable dining experience that will have everyone asking for seconds.
- Picture-perfect presentation with vibrant colors makes this dish absolutely Instagram-worthy and guaranteed to impress any dinner guest.
- Incredibly versatile recipe that works beautifully for weeknight dinners, meal prep, special occasions, or even outdoor entertaining sessions.
Perfecting Cheesecake Pops Cooking Process
To achieve the best results, prepare your ingredients first. Start by beating the cream cheese until smooth, then gradually mix in the powdered sugar and vanilla. Once your mixture is ready, roll them into balls and freeze them before dipping them in chocolate.
Add Your Touch to Cheesecake Pops
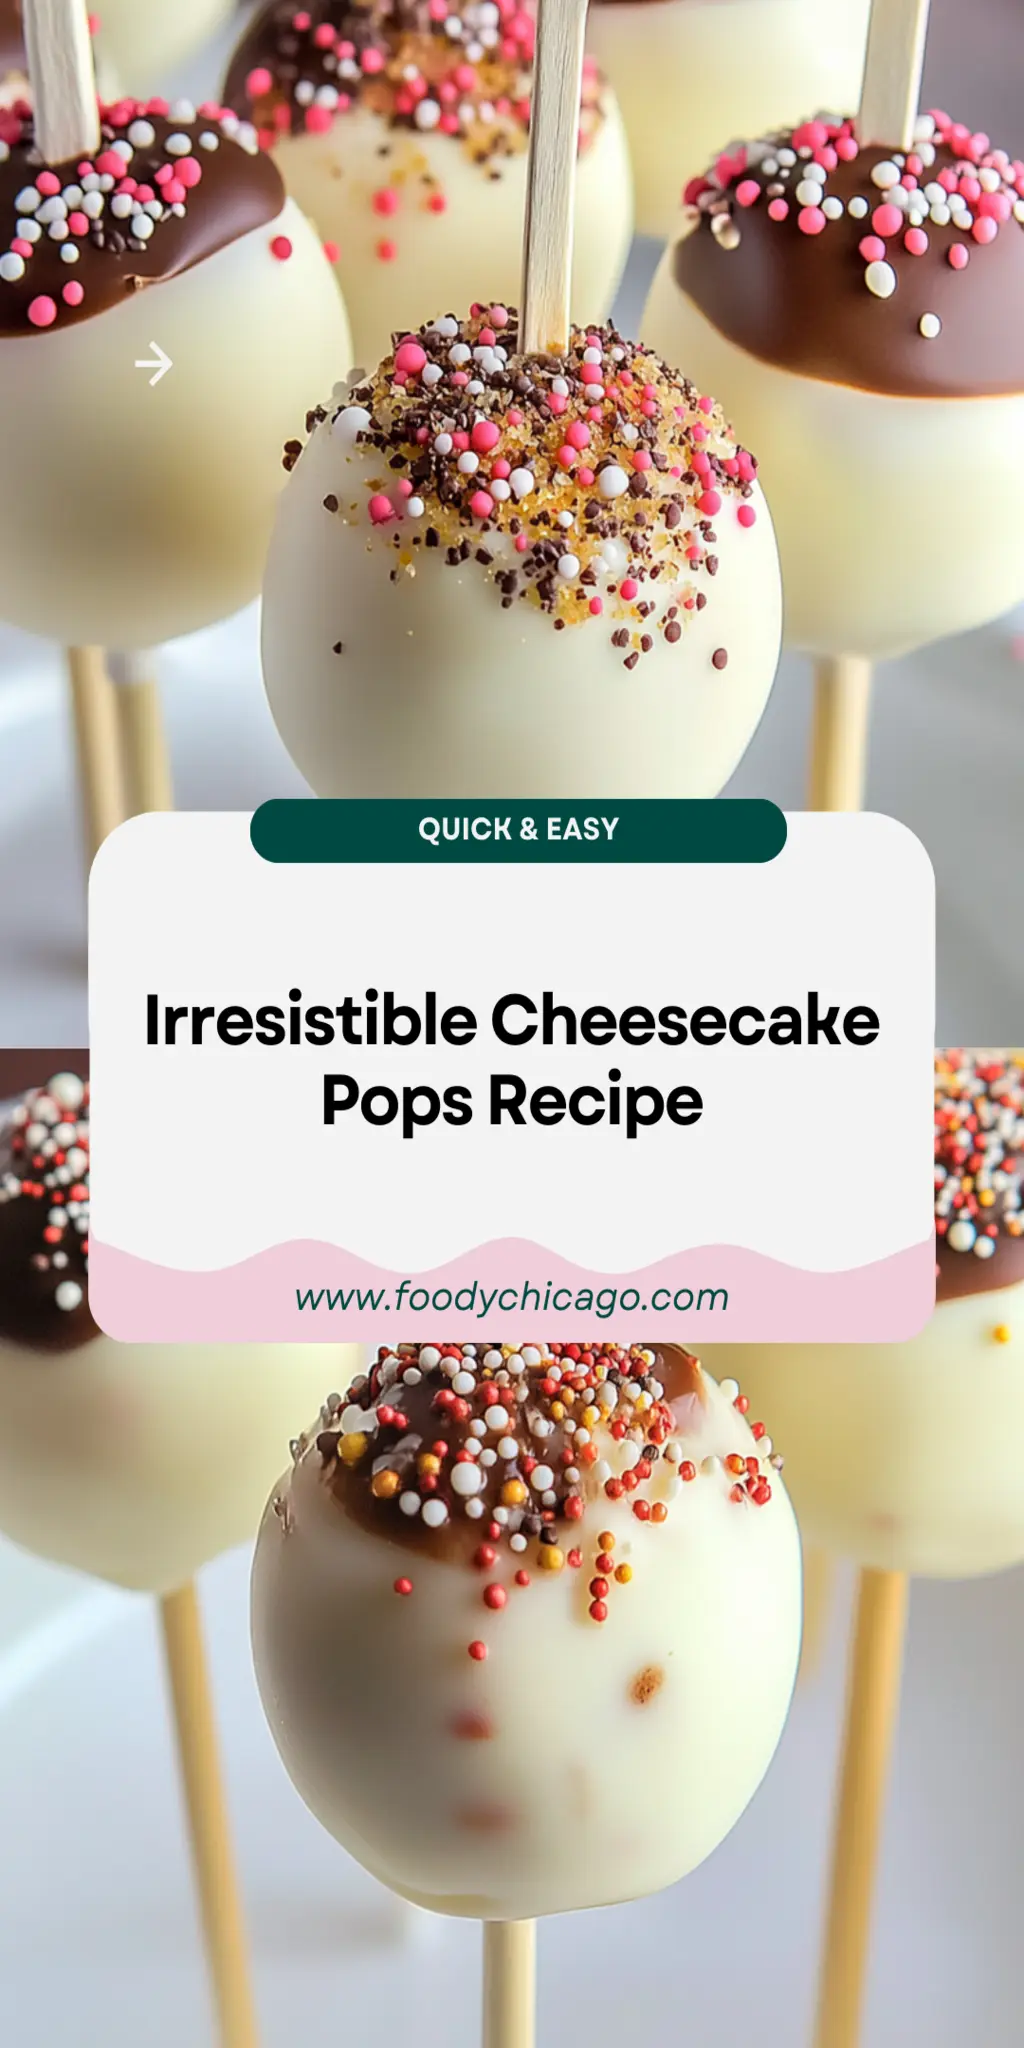
Feel free to customize your Cheesecake Pops! Swap the semi-sweet chocolate for white chocolate or drizzle caramel on top. Add crushed nuts or colorful sprinkles for extra flavor and visual appeal, making each pop uniquely yours.
Storing & Reheating Cheesecake Pops
Store your Cheesecake Pops in an airtight container in the freezer to maintain their texture and taste. They can last up to two weeks. Just pop them out and enjoy them chilled without reheating for the best experience.
Chef's Helpful Tips for Cheesecake Pops
- This professional-quality Cheesecake Pops relies on precise timing and temperature control to achieve restaurant-standard results consistently.
- Master the art of mise en place by prepping all ingredients beforehand, ensuring smooth execution and preventing any last-minute cooking disasters.
- The secret lies in layering flavors throughout the cooking process rather than seasoning only at the end for maximum depth.
- Pro tip: let the finished dish rest for optimal texture and flavor development before serving to hungry guests waiting eagerly.
The first time I made Cheesecake Pops for a family gathering, they disappeared in minutes. My cousin, who claims to be a cheesecake connoisseur, insisted they were the best he’d ever tasted. Let’s just say, I had to hide a few for later!
FAQs About Cheesecake Pops
What are Cheesecake Pops?
Cheesecake Pops are delightful, bite-sized treats made from a creamy cheesecake filling that is shaped into small balls and then dipped in chocolate. They combine the lusciousness of traditional cheesecake with the fun and convenience of a pop. This no-bake dessert is perfect for sharing at parties, family gatherings, or as a sweet treat just for yourself. With their cute presentation and burst of flavor, these pops are sure to elevate any occasion!
How do I store Cheesecake Pops?
To maintain the delightful texture and flavor of your Cheesecake Pops, store them in an airtight container in the freezer. This keeps them fresh for up to two weeks. When you’re ready to enjoy a treat, simply take one out and savor the deliciousness without needing to reheat. Keeping them frozen ensures they stay firm and perfect for biting into, making each pop a refreshing delight.
Can I customize my Cheesecake Pops?
Absolutely! One of the best parts about Cheesecake Pops is how versatile they are. You can swap out semi-sweet chocolate for white chocolate or even drizzle caramel over the top for a decadent twist. Adding crushed nuts, colorful sprinkles, or a swirl of fruit preserves can make each pop uniquely yours and cater to different flavors or occasions. Get creative with your toppings and fillings!
Are Cheesecake Pops suitable for parties?
Yes, Cheesecake Pops are perfect for parties! They are easy to make, visually appealing, and incredibly portable, which makes them a hit with guests. Whether it’s a birthday celebration, a holiday gathering, or a casual get-together, these pops can impress. Their bite-sized nature allows everyone to enjoy a treat without overindulging, so keep a batch ready to wow your friends and family!
Conclusion for Cheesecake Pops
Cheesecake Pops are a fun, delicious, and customizable dessert that adds a touch of elegance to any occasion. Easy to prepare and perfect for sharing, these delightful treats are an instant crowd-pleaser. From their creamy interior to the satisfying chocolate coating, every bite is packed with flavor. Whether you’re hosting a party or craving something sweet, these Cheesecake Pops are sure to impress and satisfy!
Cheesecake Pops
Ingredients
Equipment
Method
- In a mixing bowl, beat softened cream cheese until smooth. Gradually add powdered sugar and vanilla extract until fluffy.
- Scoop out one-inch portions and roll into balls. Place on a parchment-lined baking sheet and insert popsicle sticks.
- Freeze for 30 minutes until firm.
- Melt the chocolate chips in a microwave-safe bowl in 15-second intervals until fully smooth.
- Dip each frozen pop into melted chocolate and place back on parchment paper.
- Chill at room temperature for 5 minutes, then return to the freezer for another 10-15 minutes to harden before serving.