
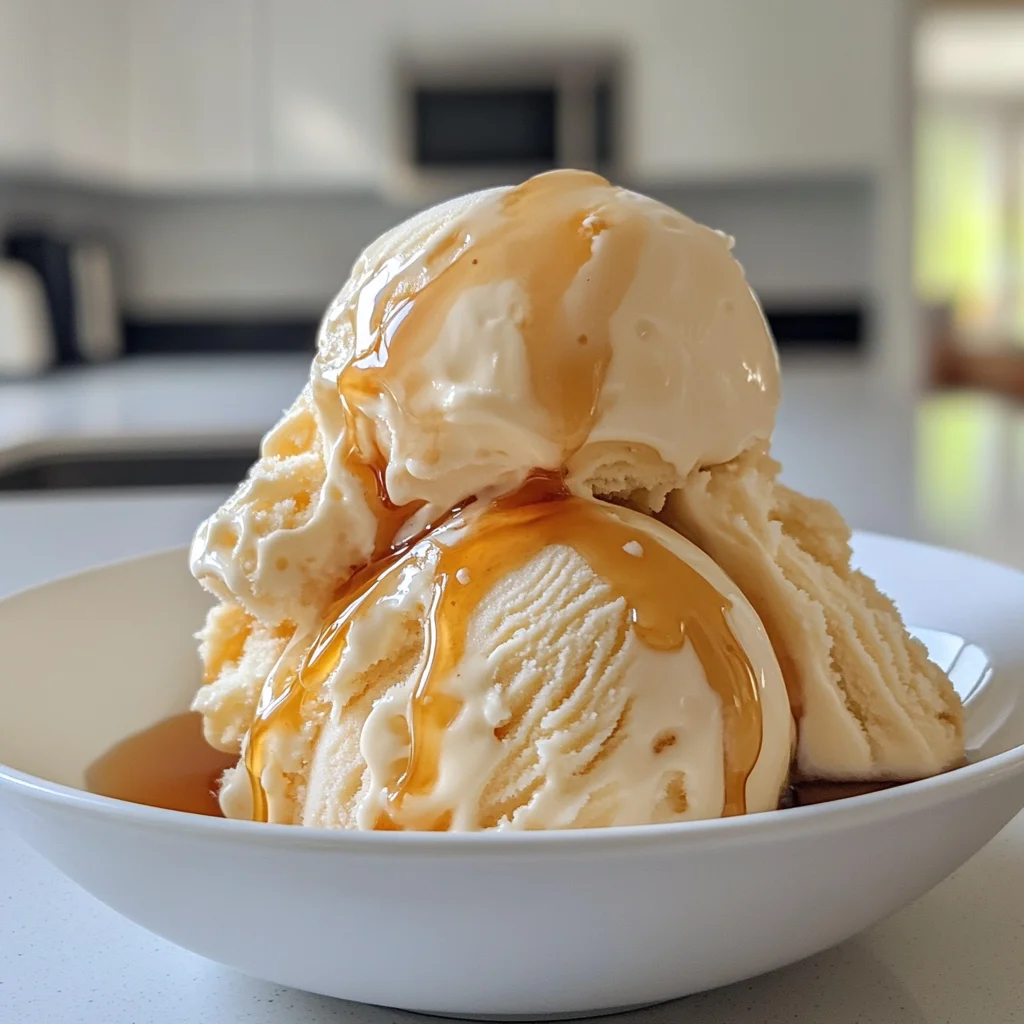
Imagine the delightful chill of creamy vanilla ice cream dancing on your taste buds, each spoonful bursting with flavor and nostalgia. The thrill of making ice cream in a bag brings back memories of childhood summers spent chasing the ice cream truck, where anticipation and joy swirled together like the sweet concoction itself.
Picture this: you gather your friends for a cozy movie night, and instead of the usual popcorn, you whip up this easy treat, laughter filling the air as you shake your bag of icy goodness. With just a few ingredients and a dash of enthusiasm, you can create an unforgettable dessert that transforms any occasion into a celebration, promising an experience that is as delightful as it is delicious.
Why Is ice cream in a bag So Irresistibly Good?
Homemade delight: With just a handful of ingredients, you can whip up creamy, dreamy ice cream in no time!
Fun for everyone: This engaging method is perfect for kids and adults alike—shake, mix, and enjoy the process!
Flavorful freedom: Customize your ice cream with your favorite flavors or mix-ins; the possibilities are endless!
No special equipment needed: All you need is a zip-top bag—who knew making ice cream could be this easy?
Quick satisfaction: In just 10 minutes, you can indulge in a delicious treat that will impress family and friends!
ice cream in a bag Ingredients
For the Ice Cream Base
- 1 cup Heavy cream – This rich cream adds a luscious texture to your ice cream, making it incredibly smooth and creamy.
- 1 cup Whole milk – Whole milk helps balance the richness of the heavy cream while contributing to a velvety consistency.
- 1/2 cup Granulated sugar (Adjust to taste) – Sweeten your mix to your liking; this will enhance the flavors and create that delightful sweetness we all love.
- 1 teaspoon Vanilla extract – Pure vanilla extract elevates the flavor profile, giving your ice cream a warm and comforting aroma.
For the Ice and Salt Mixture
- 4 cups Ice (Crushed or cubed) – Use crushed or cubed ice; both work well to keep your ice cream mixture chilled during the process.
- 1/2 cup Salt (Rock salt preferred) – Rock salt is best for lowering the freezing point of ice, ensuring your ice cream in a bag reaches that perfect creamy texture.
How to Make ice cream in a bag
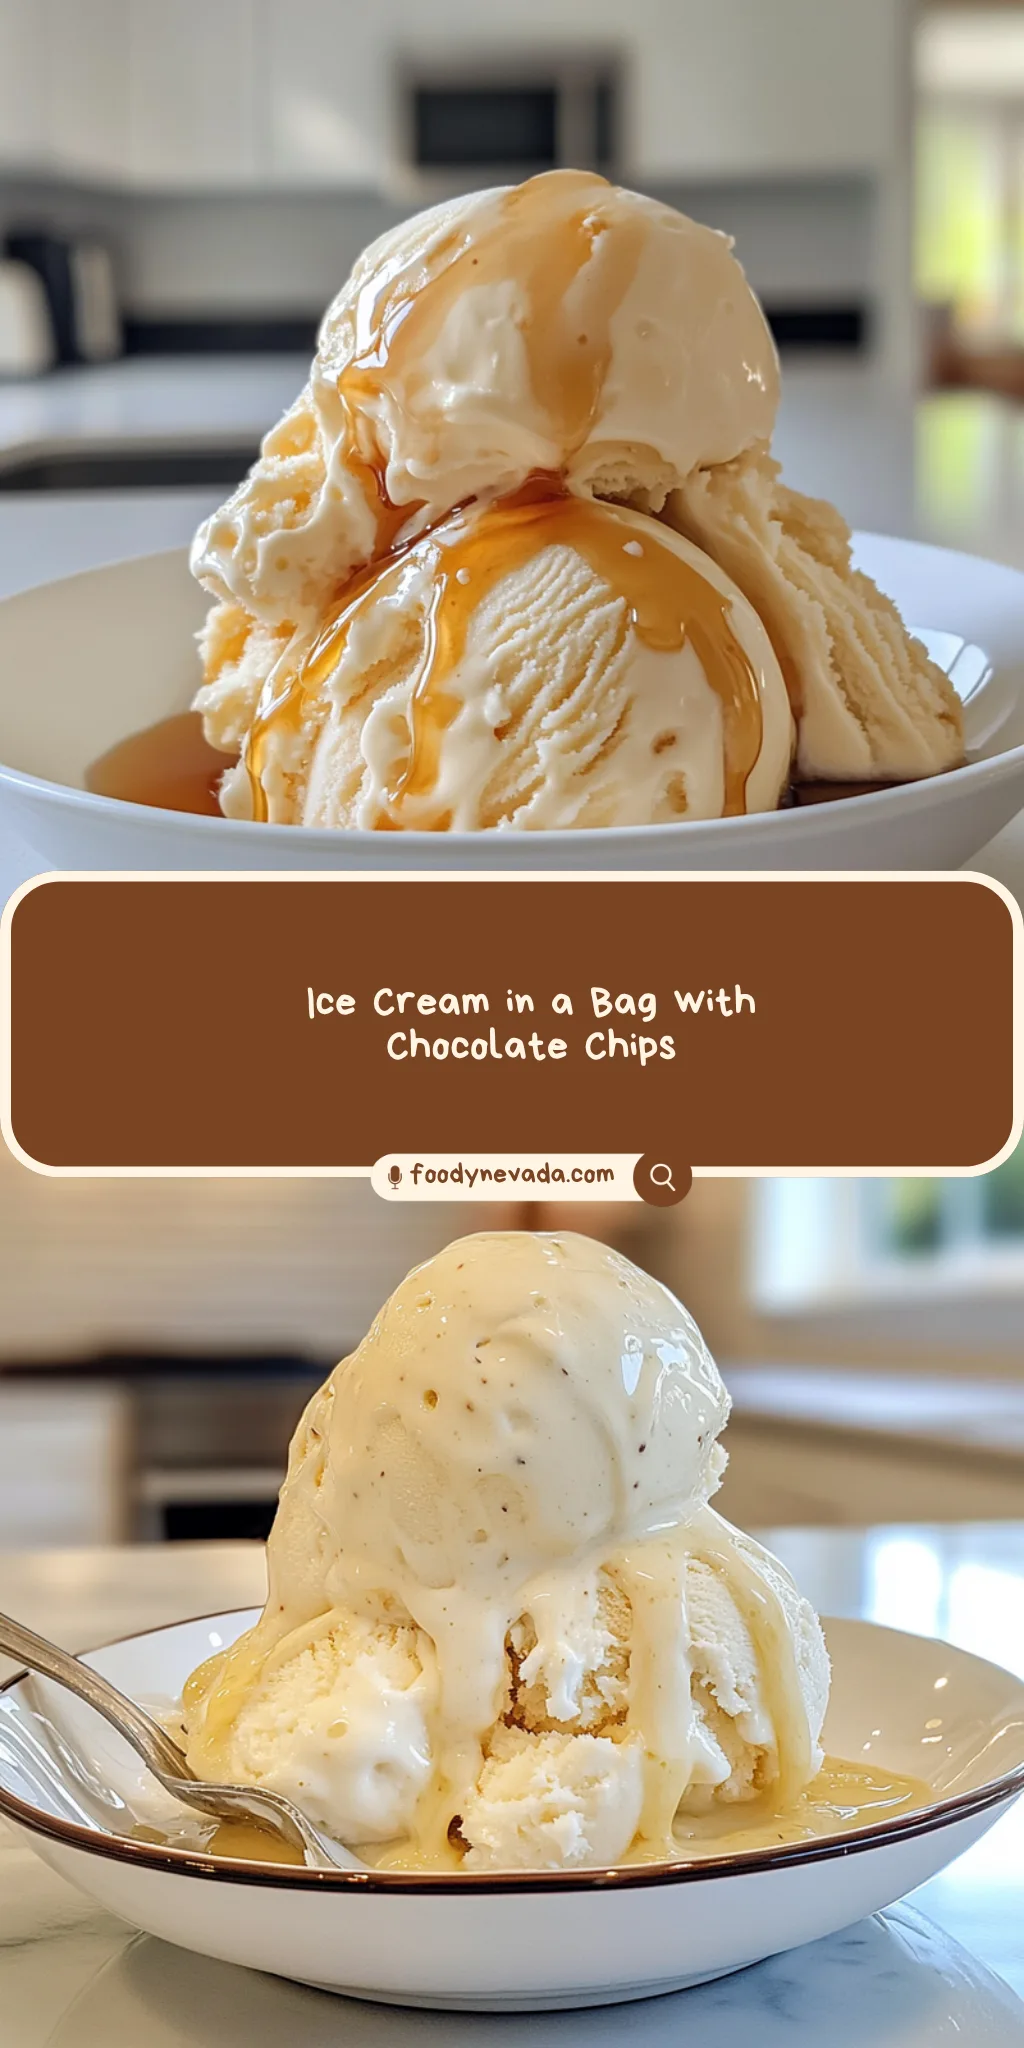
1. Whisk Together: In a large bowl, whisk together 1 cup of heavy cream, 1 cup of whole milk, 1/2 cup of granulated sugar, and 1 teaspoon of vanilla extract until the sugar is fully dissolved. This mixture should be smooth and creamy.
2. Prepare the Bag: Pour the ice cream mixture into a zip-top bag and seal it tightly, ensuring no air is trapped inside. This step is crucial for achieving that perfect texture!
3. Combine Ice and Salt: In another larger zip-top bag, add 4 cups of crushed or cubed ice and 1/2 cup of rock salt. The salt helps to lower the temperature, making your ice cream freeze faster.
4. Seal and Shake: Place the sealed bag with the ice cream mixture inside the larger bag filled with ice and salt, then seal it tightly again. This double-bagging technique keeps everything contained while you shake.
5. Shake Vigorously: Shake the bags vigorously for about 5-10 minutes until the ice cream mixture thickens and hardens to your desired consistency. Feel free to enlist family members for this fun part!
6. Serve: Remove the inner bag carefully, wipe off any salt from the outside, and scoop your delightful homemade ice cream into bowls or cones. Enjoy this sweet treat with your loved ones!
Optional: Top with sprinkles or chocolate syrup for an extra delicious touch!
Exact quantities are listed in the recipe card below.
Expert Tips
- Seal It Well: Ensure your zip-top bag is tightly sealed with no air trapped inside to prevent any salty ice from sneaking in.
- Perfect Ratio: Use a 1:1 ratio of heavy cream to whole milk for a creamy texture; this balance is key in your ice cream in a bag.
- Watch the Time: Shake the bags for 5-10 minutes but don’t overdo it; too long can lead to icy, grainy ice cream instead of smooth and creamy.
- Choose Rock Salt: Opt for rock salt rather than table salt; it lowers the freezing point more effectively and enhances the creaminess.
- Taste as You Go: Adjust sweetness by sampling the base before sealing it up; remember that flavors mellow as they freeze!
How to Store and Freeze ice cream in a bag
- Freezer: Store your homemade ice cream in a bag for up to 2 weeks. Make sure it’s tightly sealed to prevent freezer burn.
- Airtight Containers: For longer storage, transfer the ice cream into an airtight container once it’s fully frozen. It can last up to 1 month this way.
- Fridge: If you have leftover ice cream base before freezing, keep it in the fridge for up to 3 days. Stir well before using for the best consistency.
- Avoid Room Temperature: Never leave your ice cream in a bag at room temperature, as it can melt quickly and affect its texture and flavor.
ice cream in a bag Your Way
Feel free to unleash your creativity and customize this delightful treat with these fun variations!
- Dairy-Free: Substitute heavy cream and whole milk with coconut milk for a rich, tropical flavor. This swap not only makes it dairy-free but also adds a hint of sweetness. Enjoy the creamy texture without any dairy!
- Chocolate Indulgence: Replace half of the sugar with cocoa powder to create a luscious chocolate base. The deep, velvety notes of chocolate will make every scoop feel like a decadent dessert experience.
- Minty Fresh: Incorporate 1 tablespoon of peppermint extract instead of vanilla for a refreshing twist. Ideal for hot days, this variation brings a cool sensation that dances on your taste buds.
- Fruit Fusion: Blend in 1 cup of pureed strawberries or mango before sealing the bag to infuse fruity flavors. The bright colors and natural sweetness will brighten your homemade ice cream beautifully.
- Nutty Crunch: Stir in 1/2 cup of finely chopped nuts or nut butter for an added crunch and richness. The combination of creamy ice cream and crunchy textures creates an irresistible contrast.
- Spicy Kick: Add a pinch of cayenne pepper or chili powder to the sugar for an unexpected heat element. The warm spice pairs wonderfully with the sweetness, creating an exciting flavor adventure.
- Cookie Dough Delight: Fold in mini chocolate chips and chunks of cookie dough before sealing the bag. This playful addition transforms your ice cream into an indulgent treat that everyone will love.
- Caramel Swirl: Drizzle caramel sauce into the mixture just before sealing it up for a sweet surprise in every bite. The gooey caramel ribbons offer bursts of flavor that elevate your homemade creation to new heights!
Make Ahead Options

This ice cream in a bag recipe is perfect for meal prep, allowing you to enjoy a delightful treat anytime the craving strikes! You can prepare the ice cream base up to 24 hours in advance by whisking together 1 cup of heavy cream, 1 cup of whole milk, 1/2 cup of granulated sugar, and 1 teaspoon of vanilla extract until the sugar dissolves. Once combined, simply pour the mixture into a zip-top bag and seal it tightly. In another larger zip-top bag, pre-pack the ice and 1/2 cup of rock salt, ready for use. When you’re ready to enjoy your homemade ice cream, all you need to do is place the sealed bag with the ice cream mixture inside the larger bag with ice, shake vigorously for about 5-10 minutes until thickened, then scoop into bowls or cones. To maintain quality, ensure that your bags are sealed tightly and keep them chilled until serving. With just a little prep work ahead of time, you can whip up this delicious dessert in no time!
ice cream in a bag Recipe FAQs
How can I adjust the sweetness of my ice cream?
You can easily tweak the sweetness of your ice cream by adjusting the amount of granulated sugar. Start with 1/2 cup, then taste the mixture before sealing it in the bag. If you prefer it sweeter, add a tablespoon or two more and whisk until completely dissolved.
What type of salt should I use for this recipe?
Rock salt is preferred for its larger grains, which help create a freezing environment when mixed with ice. However, if you don’t have rock salt on hand, regular table salt will work too—just be cautious as it may dissolve faster and could affect the texture.
Can I store leftover ice cream?
If you manage to have any leftovers (which is unlikely!), transfer your ice cream into an airtight container and place it in the freezer. It should stay fresh for about a week. Just remember that homemade ice cream tends to soften quicker than store-bought, so enjoy it soon!
What if my ice cream isn’t thickening or freezing properly?
If your ice cream isn’t reaching that desired creamy consistency after shaking for 10 minutes, try adding more ice and salt to the outer bag. Ensure that the inner bag is sealed tightly to prevent any liquid from escaping. Sometimes, giving it another minute or two of vigorous shaking helps, too!
Is there a dairy-free alternative for this recipe?
Absolutely! You can substitute the heavy cream and whole milk with coconut milk or almond milk for a delicious dairy-free version. Just ensure you’re using full-fat coconut milk to achieve a similar creamy texture. The sugar and vanilla extract remain the same.
What’s a good serving size for this homemade ice cream?
This recipe yields about 4 servings, perfect for sharing with family or friends! Each serving is approximately 1/2 cup and contains around 250 calories. Scoop it into bowls or cones to make it even more fun!
Ice Cream in a Bag
Ingredients
Method
- In a large bowl, whisk together the heavy cream, whole milk, granulated sugar, and vanilla extract until the sugar is dissolved.
- Pour the ice cream mixture into a zip-top bag and seal it tightly, ensuring no air is trapped inside.
- In another larger zip-top bag, add the ice and salt.
- Place the sealed bag with the ice cream mixture inside the larger bag with ice and seal it tightly.
- Shake the bags vigorously for about 5-10 minutes until the ice cream mixture thickens and hardens.
- Remove the inner bag, wipe off any salt, and scoop the ice cream into bowls or cones.