
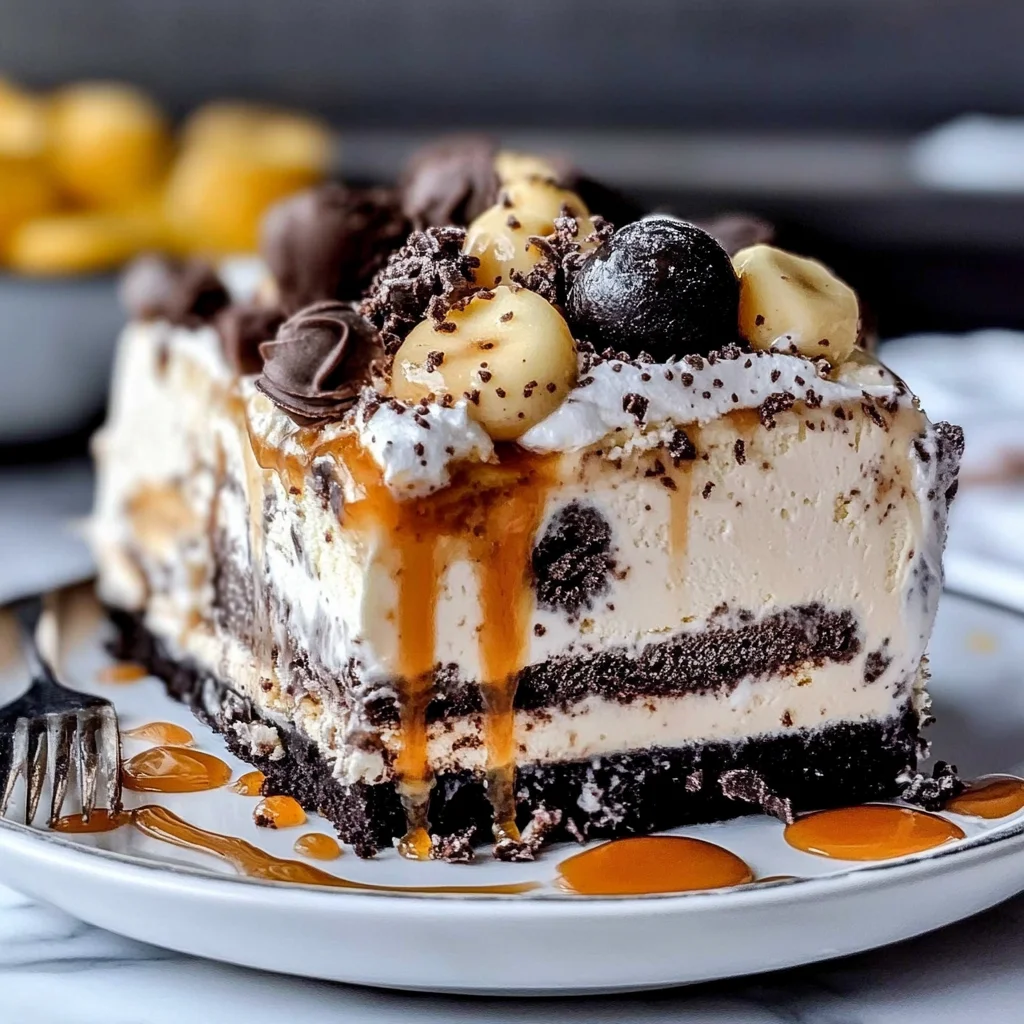
Imagine slicing through a velvety layer of rich chocolate cake, only to reveal a creamy, dreamy cascade of your favorite ice cream beneath. Each bite is a celebration of flavors—sweet, cold, and utterly indulgent—perfect for those hot summer days or festive gatherings where laughter and joy fill the air. This DIY ice cream cake isn’t just a dessert; it’s a canvas for your creativity, inviting you to mix and match flavors until your heart (and taste buds) sing.
As I recall my first attempt at making this delightful treat, I can still feel the excitement bubbling up as I layered the soft cake with scoops of rainbow sherbet and cookie dough ice cream. The anticipation was palpable as my family gathered around, eyes wide with delight, ready to dig in. Ideal for birthdays or spontaneous get-togethers, this cake promises an unforgettable flavor experience that will have everyone reaching for seconds—and maybe even thirds!
Why Is diy ice cream cake So Irresistibly Good?
Endless flavor combinations let you mix and match your favorite cake and ice cream. Quick to prepare with just 30 minutes of hands-on time, it’s perfect for any occasion. Simple ingredients like a box cake mix and your preferred ice cream make it accessible for everyone. Impressive in presentation, this dessert will wow guests of all ages, making it a guaranteed crowd-pleaser!
diy ice cream cake Ingredients
For the Cake Layer
- 1 box cake mix (any flavor) – Choose your family’s favorite flavor to give this diy ice cream cake a personal touch.
- 1 cup water – This is essential for hydrating the cake mix and creating a moist texture.
- 1/3 cup vegetable oil – Adds richness and helps keep the cake tender and flavorful.
- 3 large eggs – These provide structure and stability to your cake, making it light and fluffy.
For the Ice Cream Layers
- 1 quart ice cream (your choice of flavor) – Use any flavor you adore to create delightful layers that complement the cake perfectly.
- 1 quart whipped cream (for topping) – This light, airy topping adds a delightful sweetness that enhances the overall enjoyment of the dessert.
Step-by-Step diy ice cream cake

1. Preheat the oven according to the cake mix instructions. In a mixing bowl, combine 1 box of cake mix (any flavor), 1 cup of water, 1/3 cup of vegetable oil, and 3 large eggs. Mix until smooth and creamy.
2. Pour the batter into a greased 9-inch round cake pan. Bake according to package instructions, usually around 25-30 minutes, or until a toothpick inserted comes out clean. Once baked, allow it to cool completely.
Assemble the Ice Cream Cake:
3. Slice the cooled cake in half horizontally to create two equal layers. Make sure it’s cool enough to handle, so you don’t melt your ice cream!
4. Place one layer of cake in the bottom of the cake pan. Spread a generous layer of your favorite ice cream (1 quart) on top, then add the second layer of cake for a delightful sandwich.
5. Spread another layer of ice cream on top of the second cake layer. Cover with plastic wrap and freeze for at least 2 hours to ensure everything sets perfectly.
Finish and Serve:
6. Remove the cake from the freezer and gently take it out of the pan. Top it with whipped cream (1 quart) and any fun toppings like sprinkles or chocolate sauce for that extra flair.
7. Slice and serve immediately to enjoy this delightful treat with family and friends!
Optional: Drizzle with chocolate sauce for added sweetness!
Exact quantities are listed in the recipe card below.
Pro Tips for diy ice cream cake
- Cool Completely: Allow the cake to cool fully before slicing; this prevents melting ice cream from seeping into the cake layers.
- Slicing Technique: Use a serrated knife to slice the cake evenly in half, ensuring each layer is uniform for better assembly.
- Layering Ice Cream: Spread ice cream while it’s slightly softened for easier application; avoid hard ice cream that can break the cake layers.
- Freezing Time: Don’t rush the freezing process; ensure the cake is frozen for at least 2 hours to hold its shape when serving.
- Whipped Cream Finesse: For a beautiful finish, whip your cream until stiff peaks form; this holds its shape better and enhances presentation.
How to Store and Freeze diy ice cream cake
- Fridge: Keep your diy ice cream cake covered with plastic wrap or in an airtight container for up to 3 days to maintain freshness.
- Freezer: For longer storage, freeze your ice cream cake. Wrap it tightly in plastic wrap followed by aluminum foil. It can last up to 2 months.
- Thawing: When ready to enjoy, move the cake from the freezer to the fridge for about 4 hours before serving for the best texture.
- Leftover Ice Cream: If you have leftover ice cream, store it in its original container with a tight lid. It stays fresh for up to 2 weeks in the freezer.
diy ice cream cake Your Way
Get ready to unleash your creativity and craft a dessert that’s uniquely yours!
- Chocolate Cake: Swap the standard cake mix for a rich chocolate version for an indulgent treat. The deep flavor of chocolate pairs beautifully with any ice cream. Imagine layers of chocolate cake and creamy vanilla ice cream—pure bliss.
- Gluten-Free: Use a gluten-free cake mix to make this delightful dessert suitable for everyone. The same fluffy texture can be achieved, ensuring no one misses out on enjoying this special treat.
- Fruit-Infused: Add 1 cup of mashed bananas or applesauce into the cake mix for a fruity twist. This not only adds moisture but also infuses natural sweetness, making each bite refreshing and light.
- Nutty Delight: Stir in 1/2 cup of chopped nuts into the batter for added crunch and flavor. Walnuts or pecans work wonders, giving your cake an extra layer of texture that complements the smooth ice cream.
- Coffee Kick: Replace the water with brewed coffee for a mocha-inspired cake that enhances the overall flavor profile. The subtle bitterness of coffee pairs exceptionally well with sweet ice cream layers.
- Spice It Up: Add 1 teaspoon of cinnamon or nutmeg to your batter to create a warm, cozy flavor. These spices will elevate your dessert and bring comforting notes that are perfect for family gatherings.
- Layered Crunch: Incorporate crushed cookies or candy bars into the ice cream layers for a delightful surprise. Each scoop will be bursting with flavors, adding that extra crunchiness that everyone will love.
- Vegan Option: Use plant-based ingredients like almond milk and flaxseed eggs as substitutes in your cake mix. This keeps the cake moist while accommodating those following a vegan lifestyle.
Make Ahead Options
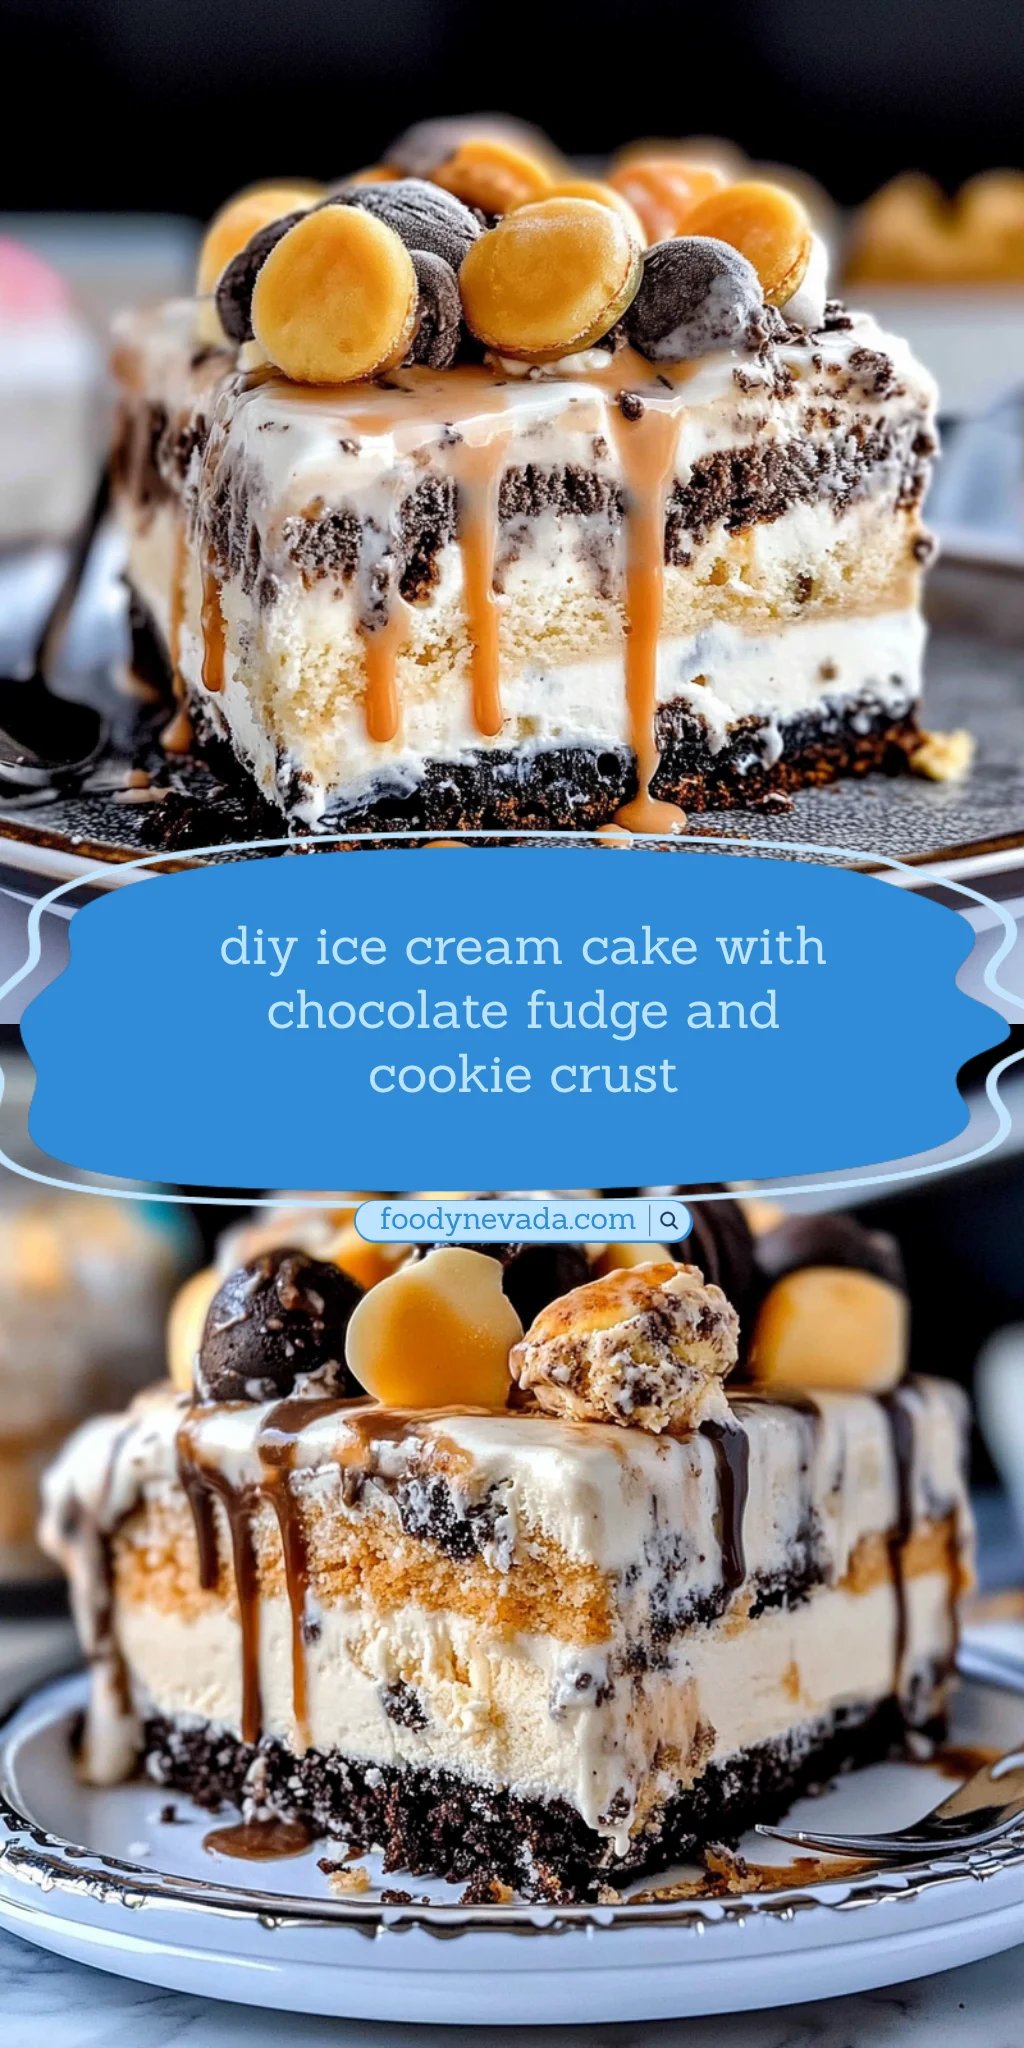
This delightful diy ice cream cake is not only a crowd-pleaser but also perfect for meal prep, allowing you to plan ahead for celebrations or simply satisfy your sweet tooth without last-minute stress. You can prepare the cake layer using 1 box of cake mix, along with 1 cup of water, 1/3 cup of vegetable oil, and 3 large eggs up to 24 hours in advance. After baking and cooling the cake completely, slice it in half horizontally and assemble by layering your favorite quart of ice cream and then refreezing for at least 2 hours. Additionally, both the ice cream and whipped cream can be chosen days ahead, making this recipe a breeze. When you’re ready to serve, simply remove the cake from the freezer, add your whipped cream topping, and any desired decorations like sprinkles or chocolate sauce for that final touch! Enjoy the time-saving benefits while treating your loved ones to this scrumptious dessert!
diy ice cream cake Recipe FAQs
What cake mix works best for a diy ice cream cake?
You can use any flavor of cake mix that you love! Chocolate, vanilla, or even funfetti can create a delightful base for your ice cream layers. Choose a mix that complements your favorite ice cream flavor for a harmonious taste.
How long can I store the diy ice cream cake in the freezer?
Your delicious creation can be stored in the freezer for up to a week. Just be sure to wrap it tightly in plastic wrap to prevent freezer burn. If you plan to keep it longer, consider slicing it into individual servings for easier access!
Can I use homemade ice cream instead of store-bought?
Absolutely! Homemade ice cream adds a personal touch and allows you to customize flavors to your liking. Just ensure your homemade ice cream is firm enough to spread easily on the cake layers.
What should I do if my cake layers break while assembling?
Don’t worry if your layers crack or break; just use some whipped cream as glue! The whipped cream will hold everything together and cover any imperfections. Plus, it adds extra deliciousness!
How many servings does this diy ice cream cake yield?
This scrumptious dessert serves about 4 people, making it perfect for an intimate gathering. If you’re expecting more guests, simply double the recipe and make two cakes for an impressive sweet spread!
Can I add mix-ins to the ice cream layers?
Definitely! Feel free to fold in chocolate chips, crushed cookies, or nuts into your chosen ice cream flavor before layering them onto the cake. This will elevate your diy ice cream cake with added texture and taste!
DIY Ice Cream Cake
Ingredients
Method
- Preheat the oven according to the cake mix instructions. Prepare the cake mix by combining the cake mix, water, vegetable oil, and eggs in a mixing bowl. Mix until smooth.
- Pour the batter into a greased 9-inch round cake pan and bake according to package instructions. Once baked, let it cool completely.
- Once the cake has cooled, slice it in half horizontally to create two layers.
- Place one layer of cake in the bottom of the cake pan. Spread a layer of ice cream on top, then add the second layer of cake.
- Spread another layer of ice cream on top of the second cake layer. Cover with plastic wrap and freeze for at least 2 hours.
- Remove the cake from the freezer and take it out of the pan. Top with whipped cream and any additional toppings like sprinkles or chocolate sauce.
- Slice and serve immediately.