
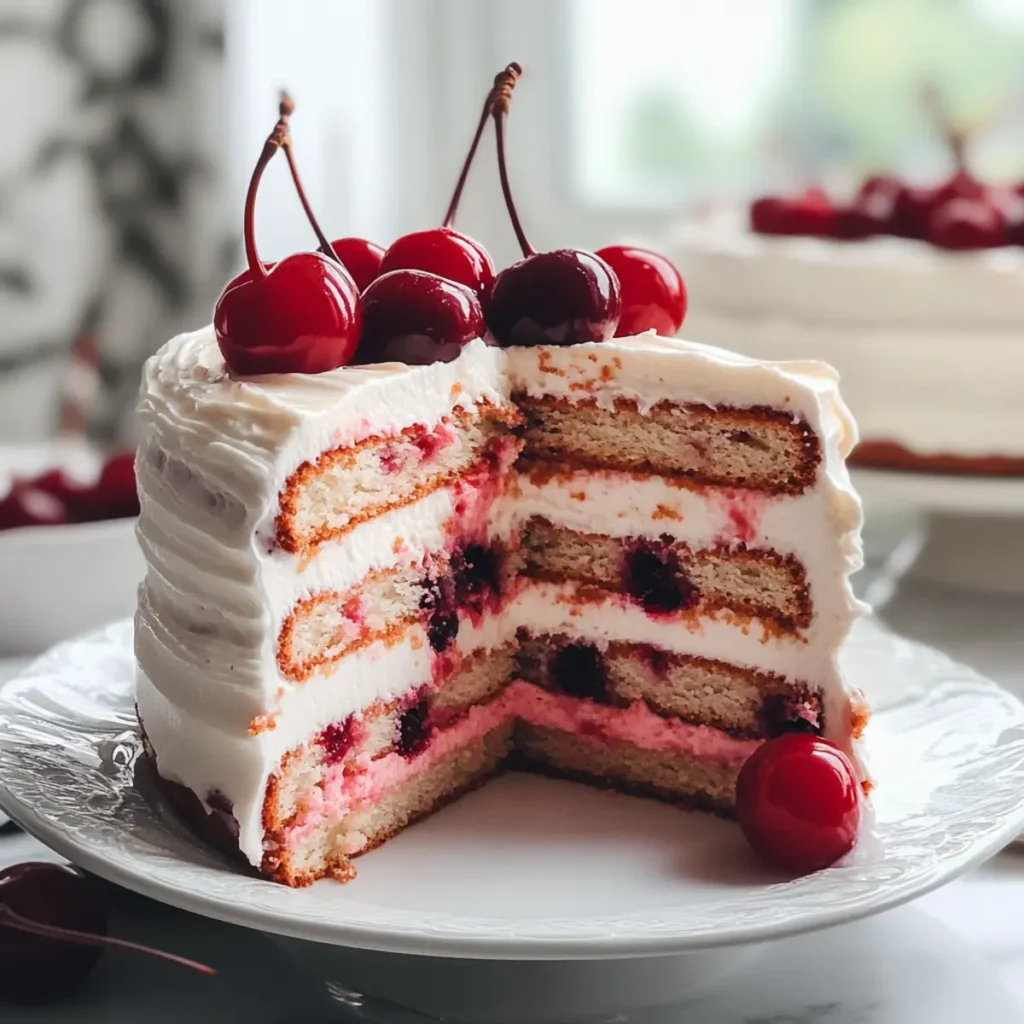
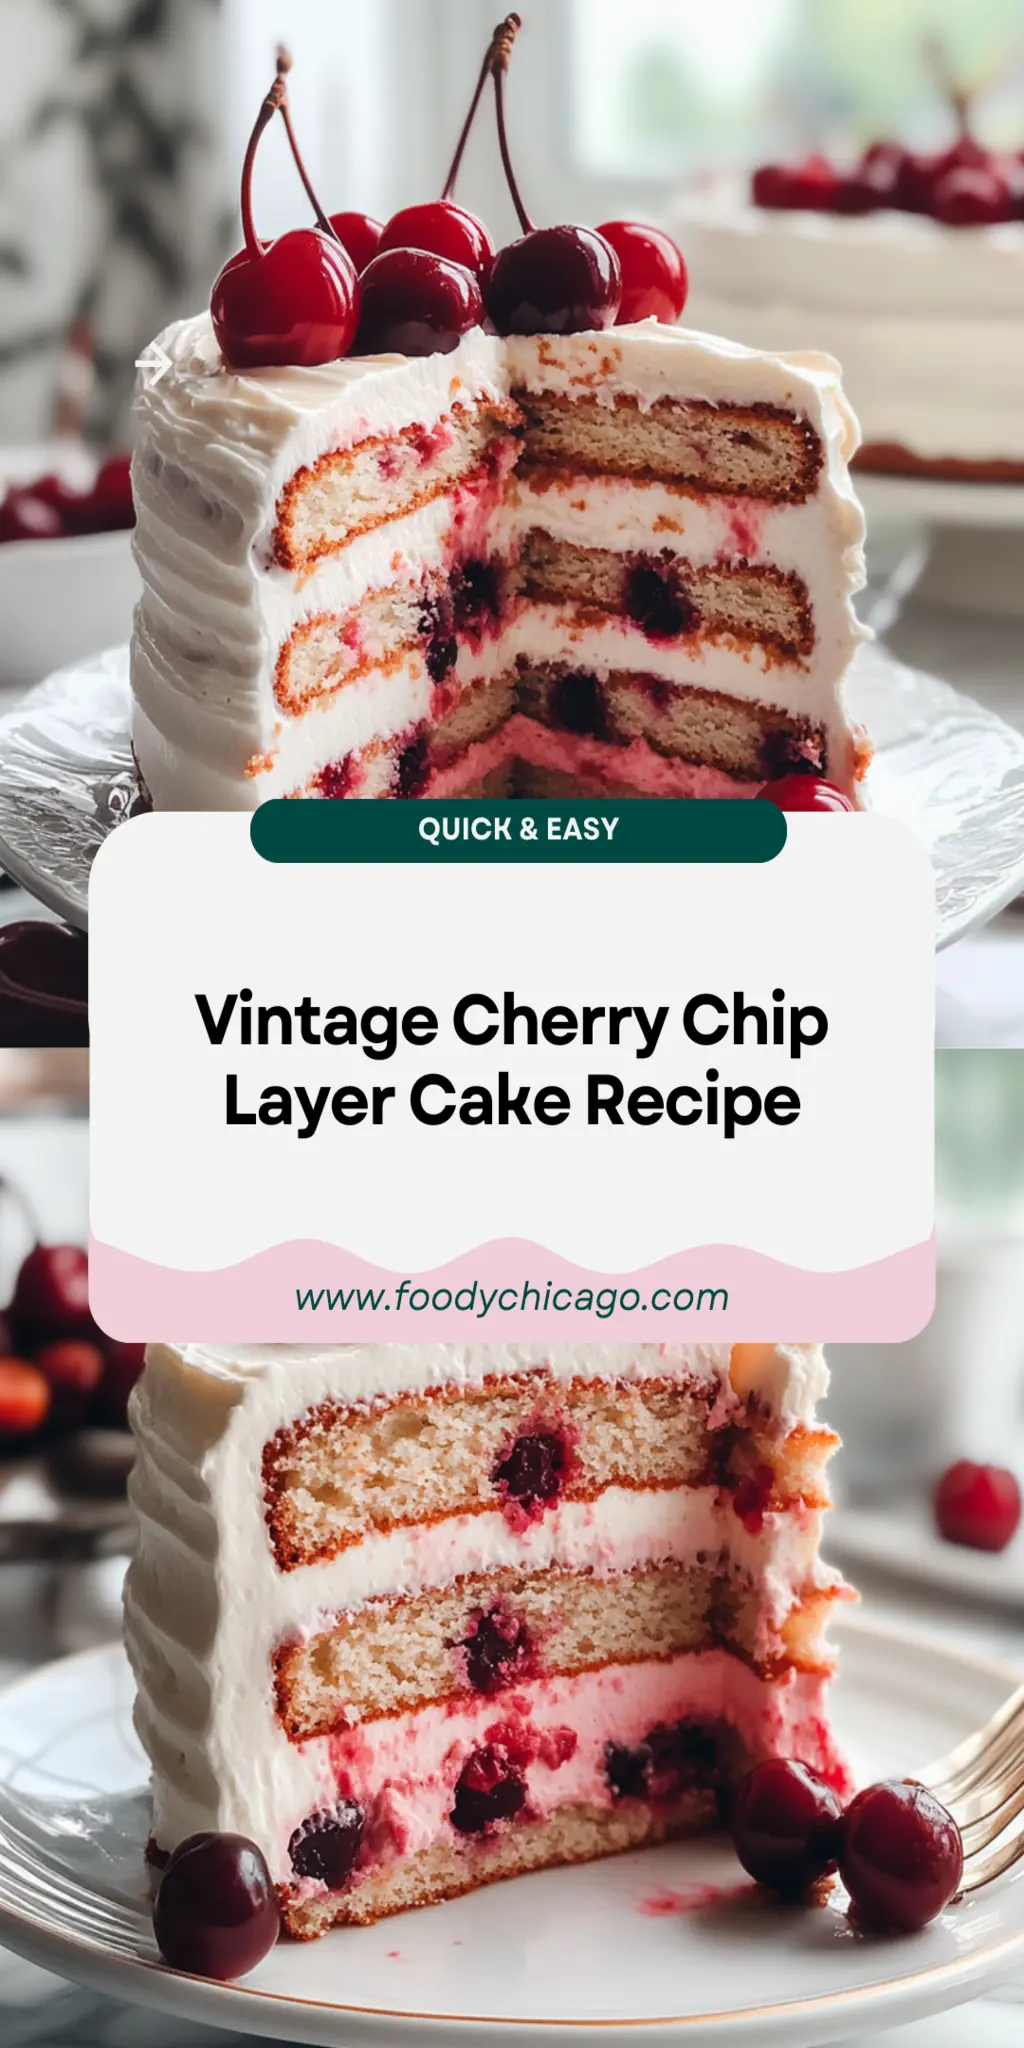
Crafting a cake as delightful as the Vintage Cherry Chip Layer Cake is a joyous affair that dances on the heartstrings of nostalgia. Imagine layering soft, airy cake filled with chocolate chips and rich cherry flavor, reminiscent of Grandma’s kitchen on a sunny afternoon, the sweet aroma mixing with laughter and the clinking of spoons.
This cake isn’t just a treat; it’s a celebration waiting to happen—perfect for birthdays, family gatherings, or when you simply want to pamper yourself with a slice of homemade goodness. Let’s dive into this exciting culinary adventure that’s sure to mesmerize your taste buds and tickle your funny bone!
Why You'll Love This Vintage Cherry Chip Layer Cake
- This incredible Vintage Cherry Chip Layer Cake transforms simple everyday ingredients into restaurant-quality flavors that will blow your mind completely.
- Foolproof recipe techniques guarantee perfect results every single time, making even novice cooks feel like professional chefs instantly.
- Stunning visual appeal with gorgeous colors and mouthwatering aromas creates the ultimate Instagram-worthy dish for any special occasion.
- Endlessly adaptable for different dietary needs while working beautifully for meal prep, date nights, or entertaining large groups effortlessly.
Ingredients for Vintage Cherry Chip Layer Cake
Here’s what you’ll need to make this delicious Vintage Cherry Chip Layer Cake:
2 cups all-purpose flour – Use unbleached flour for a more natural flavor and texture. A little scoop for a light cake.
1 ½ cups granulated sugar – Sweetness meets moisture, creating that perfect fluffy crumb.
1 tbsp baking powder – This little helper ensures your cake rises beautifully, getting nice and fluffy.
½ tsp salt – A pinch does wonders to enhance the flavors and balance the sweetness.
¾ cup unsalted butter, softened – The fat that makes everything better—choose high-quality butter for the best flavor.
4 large eggs – A key player in achieving that airy, light structure.
1 cup whole milk – Adds moisture and richness—don’t skimp on the creaminess!
2 tsp cherry extract – This is where the flavor magic happens; opt for pure extract for authentic cherry goodness.
1 cup semi-sweet chocolate chips – Chocolate bliss in every bite; these can be dark or milk chocolate based on your preference.
Buttercream frosting – A classic buttercream icing, whipped to fluffy perfection, for layering between the cake.
How to Make Vintage Cherry Chip Layer Cake
Follow these simple steps to prepare this delicious Vintage Cherry Chip Layer Cake:
Step 1: Preheat the Oven
Preheat your oven to 350°F (175°C). While the oven warms up, grease and flour two round cake pans. This ensures that the layers don’t stick to the pan and come out beautifully moist.
Step 2: Mix the Dry Ingredients
In a bowl, whisk together the flour, baking powder, and salt. This step is vital—it’s like a dance of ingredients combining to create the perfect base for your cake.
Step 3: Cream the Butter and Sugar
In another bowl, cream the softened butter and sugar until it looks light and fluffy—about 3 minutes. The mixture should be pale and airy, like a puff of clouds in the sky. Beat in the eggs one at a time, ensuring each one is well mixed before adding the next.
Step 4: Combine Wet and Dry Ingredients
Pour in the whole milk and cherry extract into the buttery mixture. Mix until just combined, then gradually add the dry ingredients, stirring until smooth. This is where the magic starts to happen; don’t be shy with that spatula!
Step 5: Fold in the Chocolate Chips
Gently fold in the semi-sweet chocolate chips. You want them joyfully nestled in the batter, ready to melt into your cake as it bakes.
Step 6: Bake the Layers
Divide the batter evenly between the prepared pans and bake for 25-30 minutes, or until a toothpick inserted into the center comes out clean. Your kitchen will fill with the enchanting aroma of cherry and chocolate as it bakes.
Let the cake layers cool completely before frosting generously with buttercream between each layer and on top. You can even throw in some extra chocolate chips for that lush, indulgent look.
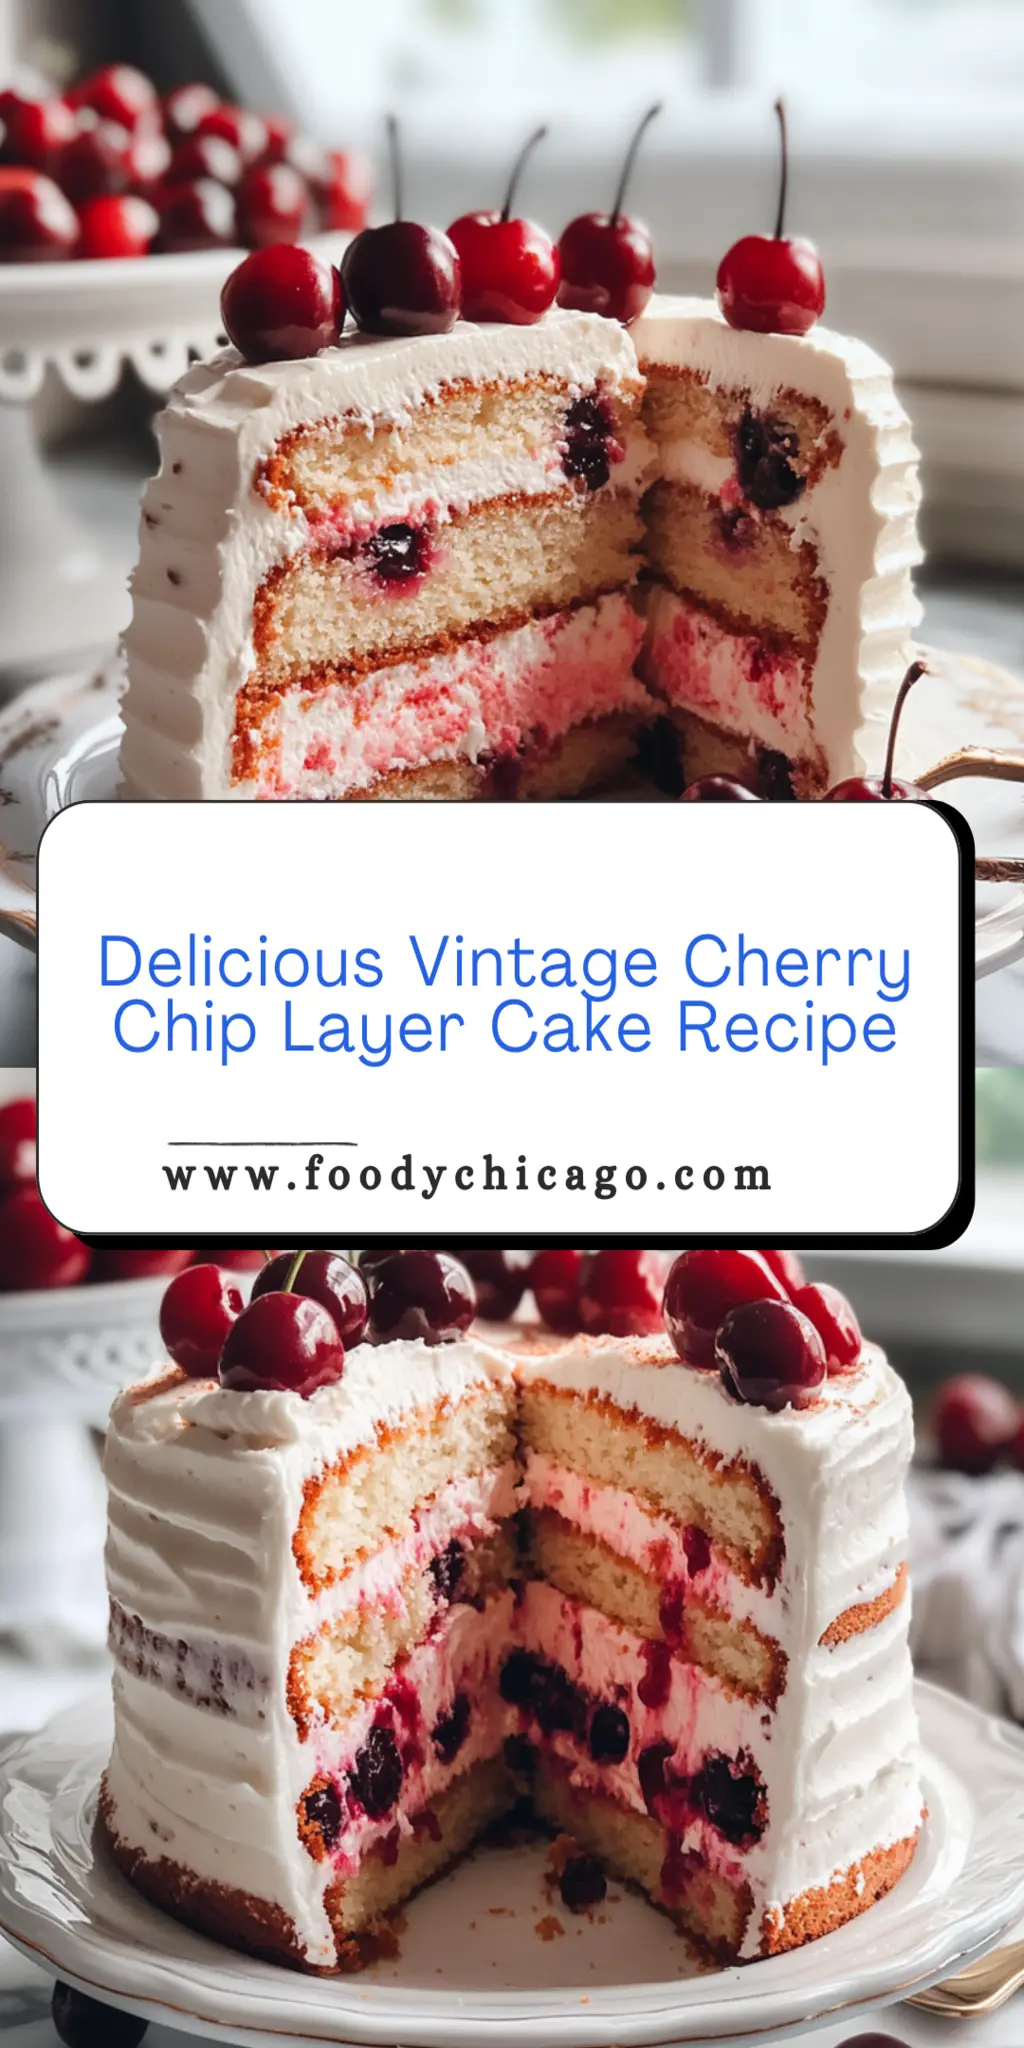
To serve, slice and lift that first slice out, revealing moist layers and pockets of chocolate. It’s an occasion to share, celebrate, and indulge. Pair it with a scoop of vanilla ice cream or a fresh cup of coffee and enjoy the symphony of flavors.
This delightful Vintage Cherry Chip Layer Cake isn’t just a dessert; it’s an experience—a delicious journey that brings back memories with every bite. So roll up your sleeves, gather those ingredients, and let the sweet festivities begin!
You Must Know About Vintage Cherry Chip Layer Cake
- This showstopping Vintage Cherry Chip Layer Cake delivers restaurant-quality results using simple ingredients you probably already have at home.
- The perfect balance of textures and flavors creates an unforgettable dining experience that will have everyone asking for seconds.
- Picture-perfect presentation with vibrant colors makes this dish absolutely Instagram-worthy and guaranteed to impress any dinner guest.
- Incredibly versatile recipe that works beautifully for weeknight dinners, meal prep, special occasions, or even outdoor entertaining sessions.
Perfecting Vintage Cherry Chip Layer Cake Cooking Process
To make your Vintage Cherry Chip Layer Cake shine, start by preheating your oven and preparing the cake pans first. While the butter and sugar cream together, mix the dry ingredients, ensuring that each element is prepped for smooth baking.
Add Your Touch to Vintage Cherry Chip Layer Cake
Get creative with your Vintage Cherry Chip Layer Cake by substituting cherries with other fruits like raspberries or updating the extract with almond for a twist. You can even toss in some nuts for added crunch!
Storing & Reheating Vintage Cherry Chip Layer Cake
Store your Vintage Cherry Chip Layer Cake in an airtight container at room temperature for up to three days. For longer storage, refrigerate it. To reheat, warm individual slices in the microwave briefly for a fresh-from-the-oven treat.
Chef's Helpful Tips for Vintage Cherry Chip Layer Cake
- This professional-quality Vintage Cherry Chip Layer Cake relies on precise timing and temperature control to achieve restaurant-standard results consistently.
- Master the art of mise en place by prepping all ingredients beforehand, ensuring smooth execution and preventing any last-minute cooking disasters.
- The secret lies in layering flavors throughout the cooking process rather than seasoning only at the end for maximum depth.
- Pro tip: let the finished dish rest for optimal texture and flavor development before serving to hungry guests waiting eagerly.
The first time I made this Vintage Cherry Chip Layer Cake, my friend said it reminded her of summer picnics as a child, which made my heart swell with joy!
FAQs About Vintage Cherry Chip Layer Cake
What is Vintage Cherry Chip Layer Cake?
Vintage Cherry Chip Layer Cake is a delightful and nostalgic dessert that combines the rich flavors of chocolate with a hint of cherry. It features moist layers of cake infused with cherry extract and studded with semi-sweet chocolate chips. This cake is perfect for celebrations, family gatherings, or simply treating yourself to something sweet. Its vibrant colors and delicious taste make it a showstopper on any dessert table.
How do I store Vintage Cherry Chip Layer Cake?
To keep your Vintage Cherry Chip Layer Cake fresh, store it in an airtight container at room temperature for up to three days. If you need to store it longer, pop it in the fridge, where it will stay good for about a week. For an even longer stretch of freshness, you can freeze the unfrosted layers. Just wrap them tightly in plastic wrap and foil, and they can last for up to three months in the freezer.
Can I customize my Vintage Cherry Chip Layer Cake?
Absolutely! One of the best things about Vintage Cherry Chip Layer Cake is its versatility. You can swap out the chocolate chips for nuts or different fruits, like raspberries or strawberries, for a fun twist. If you prefer a different flavor profile, try using almond extract instead of cherry. You can also experiment with different frostings to create your signature version of this delightful cake!
What occasions are best for serving Vintage Cherry Chip Layer Cake?
Vintage Cherry Chip Layer Cake is perfect for a wide range of occasions. Whether it’s a birthday party, family gathering, tea time, or even a picnic, this cake adds a touch of sweetness to any event. Its beautiful presentation makes it an ideal centerpiece for celebrations like weddings or anniversaries. You can also enjoy a slice any day of the week when you’re craving something delightful!
Conclusion for Vintage Cherry Chip Layer Cake
In summary, the Vintage Cherry Chip Layer Cake is a delightful dessert that brings together the flavors of rich chocolate and tart cherries in a moist cake. This recipe is not only easy to follow but also allows for endless customization. Whether you’re celebrating a special occasion or simply indulging in a sweet treat, this cake is sure to impress. Enjoy the nostalgia and flavor of this amazing Vintage Cherry Chip Layer Cake with family and friends!
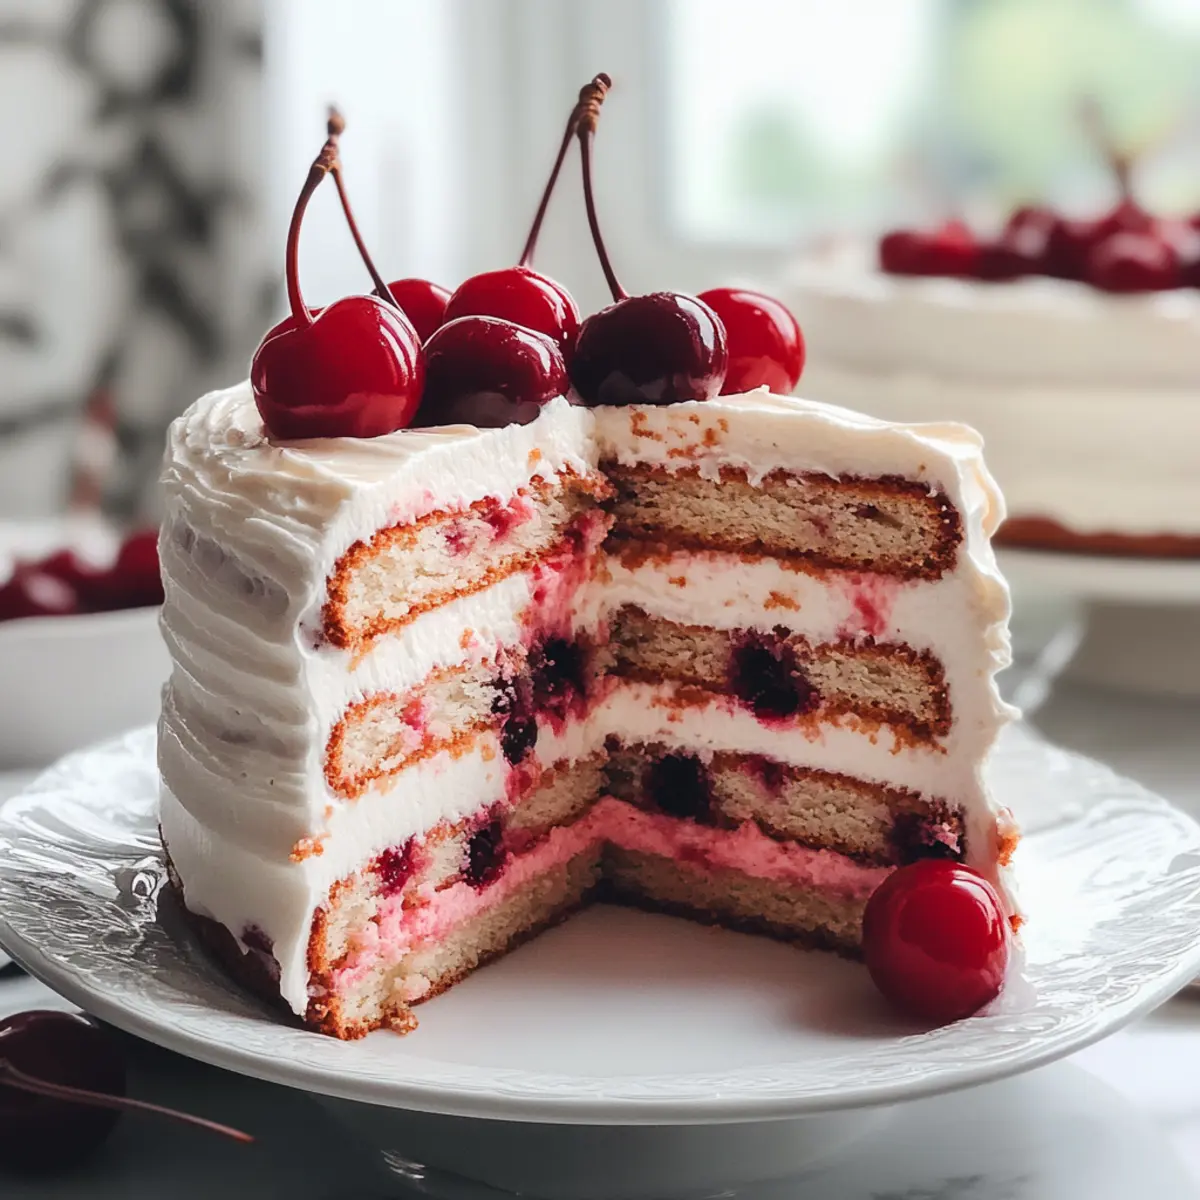
Vintage Cherry Chip Layer Cake
Ingredients
Equipment
Method
- Preheat your oven to 350°F (175°C). Grease and flour two round cake pans.
- In a bowl, whisk together flour, baking powder, and salt.
- In another bowl, cream softened butter and sugar until light and fluffy. Add eggs one at a time.
- Mix in whole milk and cherry extract until just combined. Gradually add the dry ingredients until smooth.
- Gently fold in chocolate chips.
- Divide the batter evenly between prepared pans and bake for 25-30 minutes or until a toothpick comes out clean.
- Let cake layers cool completely before frosting with buttercream.