
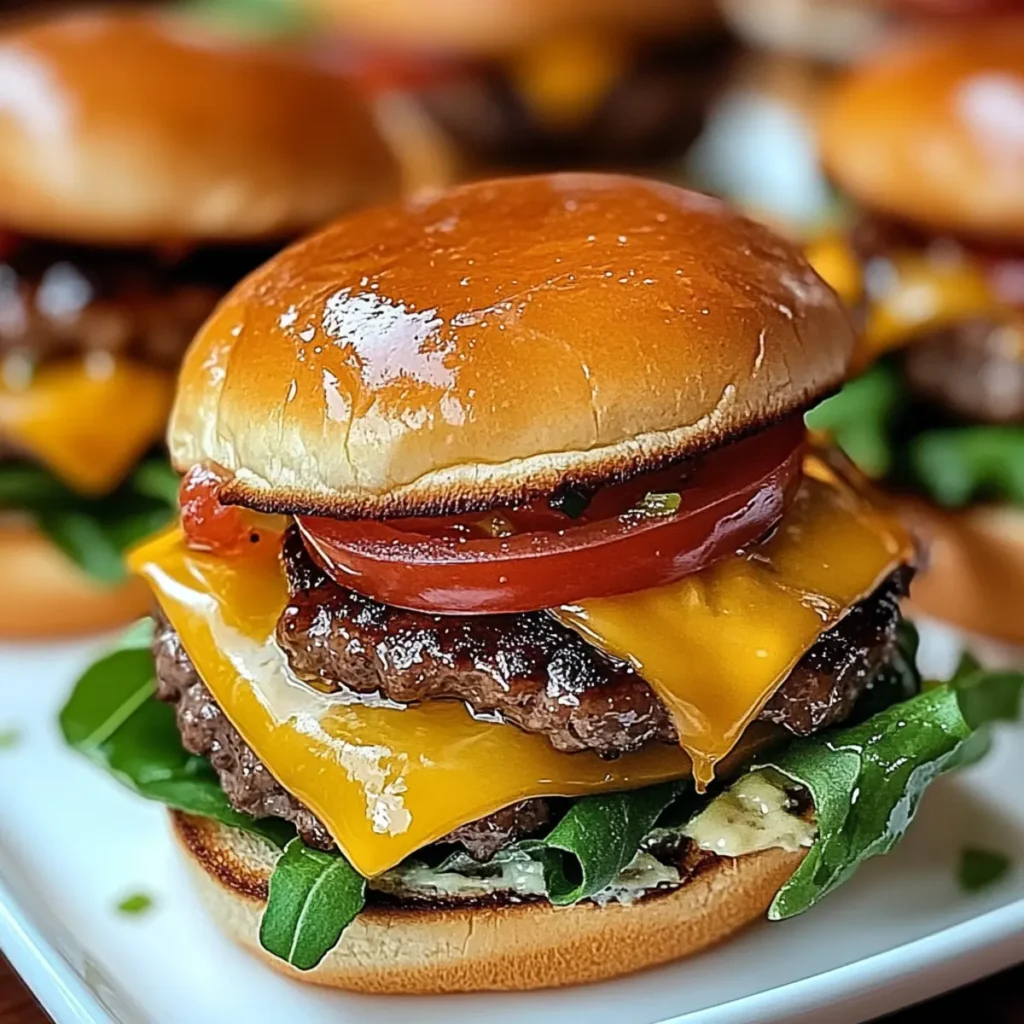
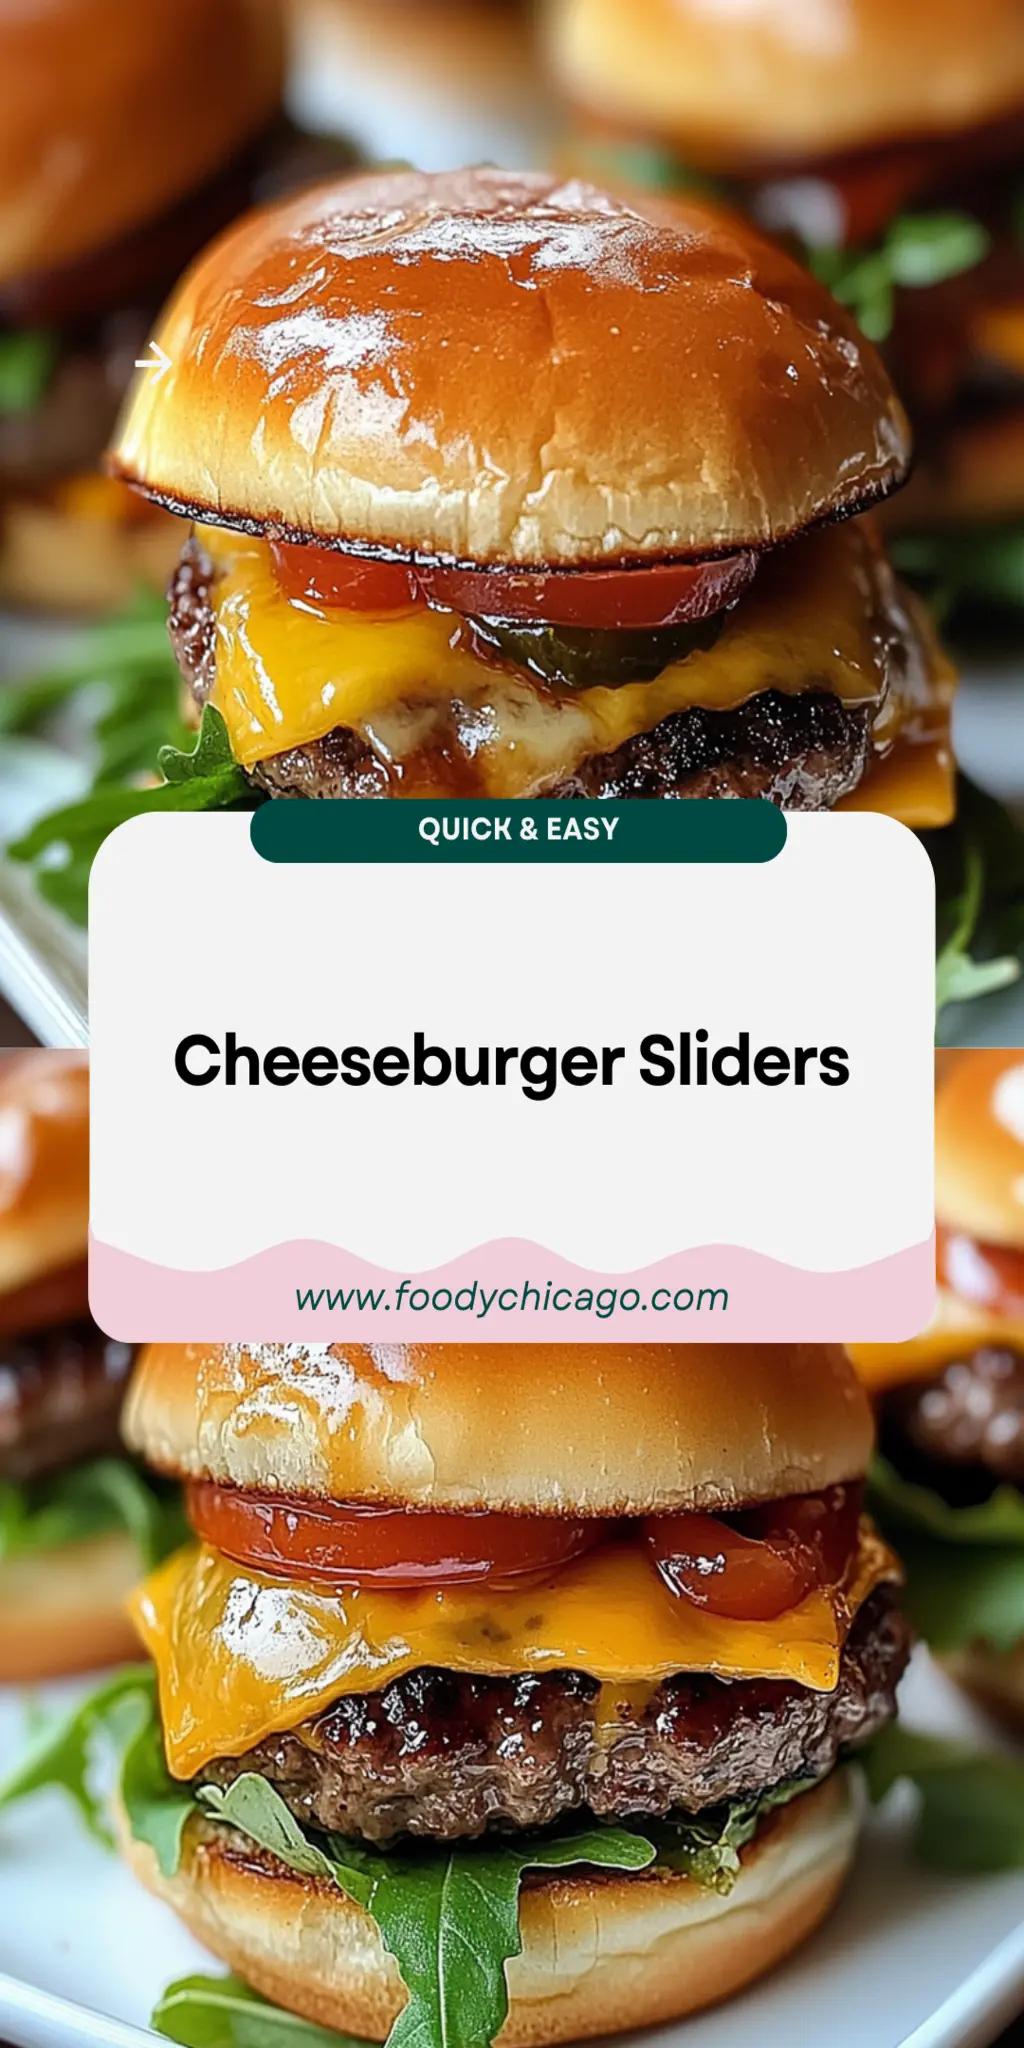
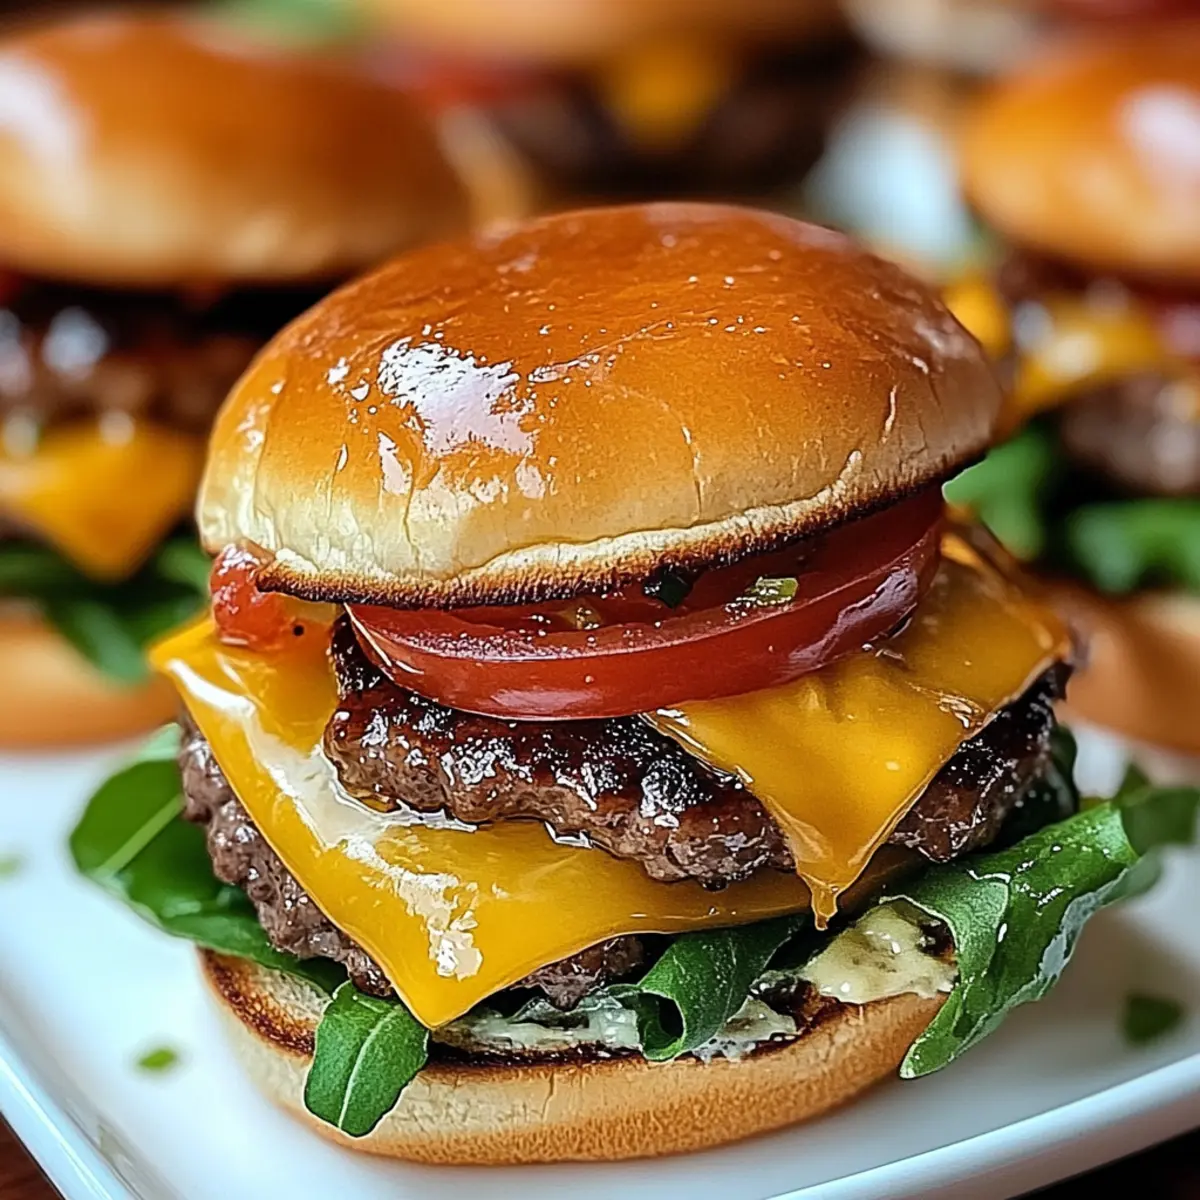
The aroma of sizzling cheeseburger sliders wafts through the air, beckoning you closer with the promise of juicy, flavor-packed bites. Imagine taking that first bite, the soft, toasted bun giving way to perfectly seasoned beef, melted cheese oozing on top, and fresh toppings bursting with flavor. Done and ready in just 30 minutes, these cheeseburger sliders are the ultimate solution for your busy weeknights and any impromptu gatherings.
Whether you’ve decided to host a game day party, quiz night with your pals, or just a casual family dinner, these cheeseburger sliders are your go-to recipe. Not only are they a scaled-down version of a classic favorite, but they also allow for endless customization, so you can easily cater to everyone’s taste buds. Get ready to unleash your inner chef and whip up these delightful little bites that are sure to bring smiles and satisfied bellies to your table.
Why You'll Love This Cheeseburger Sliders
- This incredible Cheeseburger Sliders transforms simple everyday ingredients into restaurant-quality flavors that will blow your mind completely.
- Foolproof recipe techniques guarantee perfect results every single time, making even novice cooks feel like professional chefs instantly.
- Stunning visual appeal with gorgeous colors and mouthwatering aromas creates the ultimate Instagram-worthy dish for any special occasion.
- Endlessly adaptable for different dietary needs while working beautifully for meal prep, date nights, or entertaining large groups effortlessly.
Ingredients for Cheeseburger Sliders
Here’s what you’ll need to make this delicious Cheeseburger Sliders:
1 lb ground beef – Choose 80/20 for the best balance of flavor and juiciness. You can use leaner meat, but it might lack those mouthwatering flavors.
8 slider buns – Look for soft, fresh buns that are sturdy enough to hold the toppings without falling apart during the slider showdown.
8 slices American or cheddar cheese – Either cheese adds a creamy texture. Go with American for a classic cheeseburger feel, or choose cheddar for a sharper flavor.
1 cup shredded romaine lettuce – For crunch and freshness. You can substitute with iceberg if you prefer.
1 medium tomato – Slice it into thin rounds for a juicy burst of flavor with every bite.
8 dill pickles – The perfect zingy complement that elevates the flavors of each slider. Consider sweet pickles if you’re a fan of that contrast.
2 tbsp ketchup – For that rich sweetness that goes hand-in-hand with cheeseburgers. You can also opt for homemade if you have a secret family recipe.
2 tbsp mustard – Adds that tangy kick. Yellow mustard is classic, but feel free to experiment with honey mustard for a different twist.
How to Make Cheeseburger Sliders
Follow these simple steps to prepare this delicious Cheeseburger Sliders:
Step 1: Preheat the Heat
Start by preheating your grill to medium-high heat or your oven to 400°F (200°C). If you’re going the oven route, don’t forget to spray a baking dish with nonstick cooking spray to avoid a cheesy disaster later.
Step 2: Shape the Patties
In a large bowl, mix the ground beef with salt and pepper. Get in there with your hands (after washing them, of course) and shape the beef into eight small patties, about the size of your slider buns. This is where you can channel your inner burger artist!
Step 3: Cook the Patties
Grill or bake the patties for about 3-4 minutes on each side. Keep an eye on them: you want that perfect, juicy burger without turning it into a hockey puck. During the last minute of cooking, add a slice of cheese on top of each patty to melt beautifully.
Step 4: Toast the Buns
In the meantime, slice your slider buns in half and toast them until golden brown. A crisp bun adds to the delightful textural contrast when you take that big bite!
Step 5: Assemble the Sliders
It’s the moment you’ve been waiting for! Place a patty on each bottom bun and top with a slice of melted cheese. Then layer on the shredded lettuce, tomato slices, pickles, ketchup, and mustard. The possibilities here are endless, so feel free to add or subtract toppings as your heart desires.
Step 6: Serve and Enjoy
Grab the top buns and crown each slider. Serve immediately while everything is still warm and melty, and get ready for compliments galore. They’ll disappear faster than you can say “cheeseburger sliders!”
With this recipe, there’s no reason to settle for fast food. You have the power to whip up these delicious cheeseburger sliders right in your kitchen. They come together in just 30 minutes, making them perfect for any occasion. So what are you waiting for? Gather your ingredients, fire up your grill or oven, and let the cheeseburger slider magic unfold!
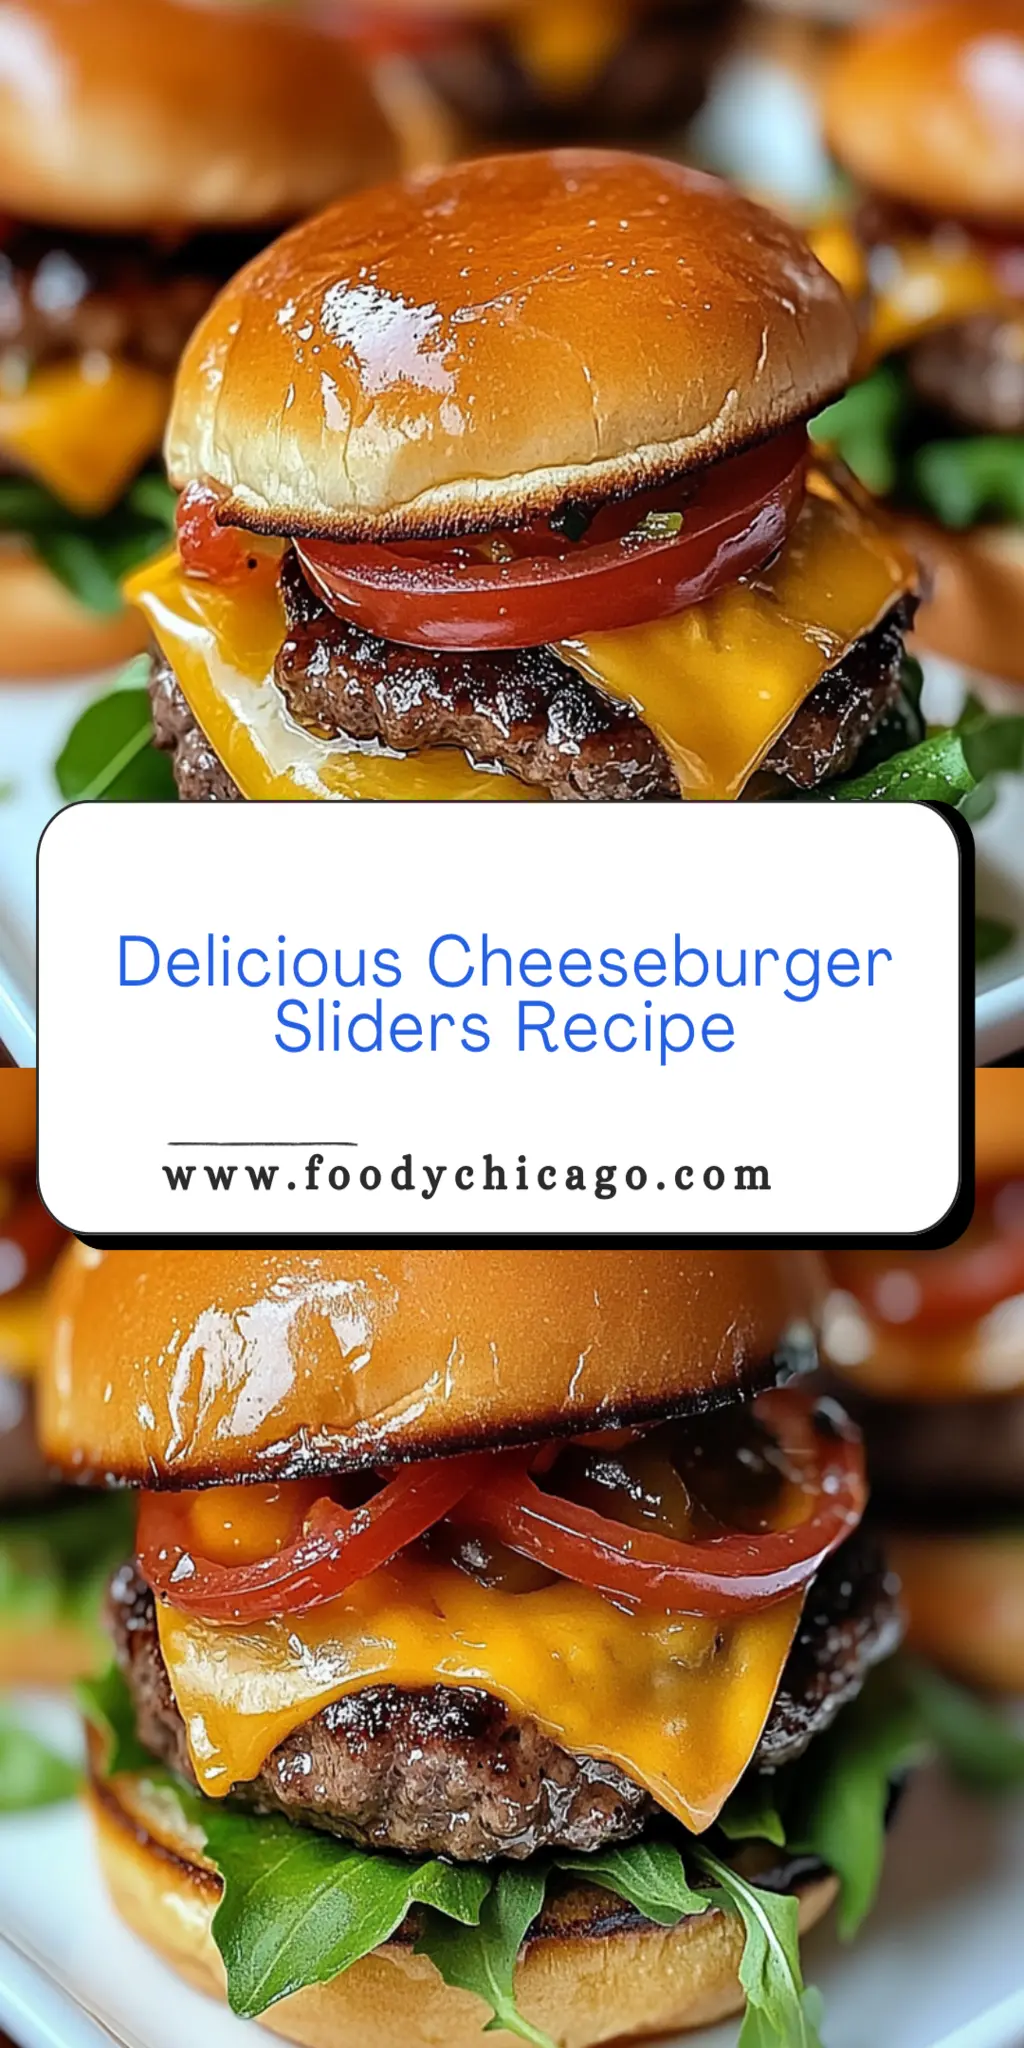
You Must Know About Cheeseburger Sliders
- This showstopping Cheeseburger Sliders delivers restaurant-quality results using simple ingredients you probably already have at home.
- The perfect balance of textures and flavors creates an unforgettable dining experience that will have everyone asking for seconds.
- Picture-perfect presentation with vibrant colors makes this dish absolutely Instagram-worthy and guaranteed to impress any dinner guest.
- Incredibly versatile recipe that works beautifully for weeknight dinners, meal prep, special occasions, or even outdoor entertaining sessions.
Perfecting Cheeseburger Sliders Cooking Process
To create the ultimate Cheeseburger Sliders, start by preparing your patties while preheating the grill or oven. Cook the patties, add cheese during the last moments, and toast the buns for a flawless finish.
Add Your Touch to Cheeseburger Sliders
Feel free to mix it up! Swap ground beef for turkey or plant-based meat, use different cheeses like pepper jack for a kick, or add sautéed onions and mushrooms for extra flavor.
Storing & Reheating Cheeseburger Sliders
To store leftover Cheeseburger Sliders, keep them in an airtight container in the fridge for up to three days. For reheating, use the microwave or oven to restore their deliciousness without compromising texture.
Chef's Helpful Tips for Cheeseburger Sliders
- This professional-quality Cheeseburger Sliders relies on precise timing and temperature control to achieve restaurant-standard results consistently.
- Master the art of mise en place by prepping all ingredients beforehand, ensuring smooth execution and preventing any last-minute cooking disasters.
- The secret lies in layering flavors throughout the cooking process rather than seasoning only at the end for maximum depth.
- Pro tip: let the finished dish rest for optimal texture and flavor development before serving to hungry guests waiting eagerly.
Creating Cheeseburger Sliders always brings back memories of a barbecue at my friend’s house, where we devoured these sliders in record time and exchanged stories, laughter, and a lot of deliciousness.
FAQs About Cheeseburger Sliders
What is Cheeseburger Sliders?
Cheeseburger Sliders are miniature versions of classic cheeseburgers, making them perfect for gatherings or a fun family dinner. Typically made with ground beef, these delightful bite-sized burgers are served on slider buns and are usually topped with cheese, lettuce, tomatoes, pickles, ketchup, and mustard. Their smaller size allows everyone to enjoy a tasty burger without feeling too full, making them an ideal choice for parties or game day.
How do you customize Cheeseburger Sliders?
You can easily customize Cheeseburger Sliders to suit your taste preferences or dietary needs. For a unique twist, try using ground turkey, chicken, or even plant-based meat instead of traditional beef. You can also experiment with different cheeses—pepper jack adds a spicy kick, while blue cheese provides a rich flavor. Top with your favorite condiments, such as barbecue sauce or avocado, for an extra layer of deliciousness.
Can I prepare Cheeseburger Sliders in advance?
Yes, you can prepare Cheeseburger Sliders in advance for convenience. Form the patties and store them in the refrigerator for up to a day before grilling or baking. You can also assemble the sliders without toppings and store them in an airtight container, adding the fresh ingredients just before serving. This way, you can save time on busy days or when entertaining guests.
Are Cheeseburger Sliders healthy?
Cheeseburger Sliders can be a part of a balanced diet when enjoyed in moderation. They provide a good source of protein from the ground beef and can be made healthier by using lean meats or alternative proteins. Incorporating fresh veggies like lettuce and tomatoes not only enhances flavor but also adds essential nutrients. Just be mindful of portion sizes and toppings to keep this treat light and nutritious when possible.
Conclusion for Cheeseburger Sliders
In conclusion, Cheeseburger Sliders are a fantastic option for anyone craving the deliciousness of a traditional cheeseburger in a fun, shareable format. These sliders are versatile, customizable, and incredibly straightforward to make in just 30 minutes. Whether you’re hosting a barbecue, planning a game day feast, or simply enjoying a weeknight dinner, these sliders will surely impress your family and friends. Don’t miss out on the delightful experience that Cheeseburger Sliders can bring to your table!
Cheeseburger Sliders
Ingredients
Equipment
Method
- Preheat grill to medium-high heat or oven to 400°F (200°C). If using an oven, spray a baking dish with nonstick cooking spray.
- In a large bowl, mix ground beef with salt and pepper, then form into eight small patties.
- Grill or bake patties for 3-4 minutes on each side. During the last minute of cooking, add cheese on top to melt.
- While patties cook, slice slider buns in half and toast until golden brown.
- Assemble sliders by placing a patty on each bottom bun and topping with cheese, lettuce, tomato slices, pickles, ketchup, and mustard.
- Serve immediately and enjoy!