
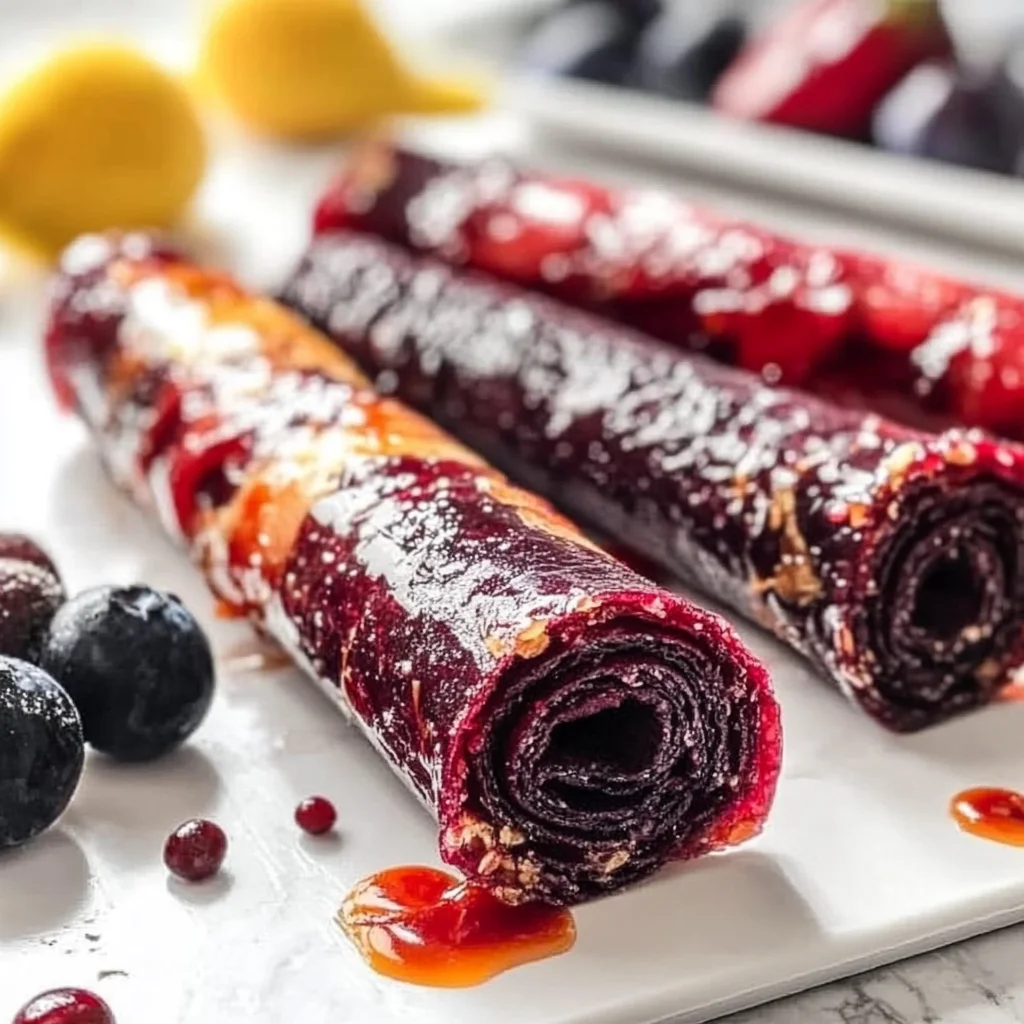
Imagine the sweet aroma of ripe strawberries and tangy mangoes swirling together, creating an irresistible fruit roll up recipe that dances on your taste buds. With each chewy bite, you’re not just savoring a snack; you’re embarking on a delightful journey back to those carefree summer days when every flavor felt like sunshine in your mouth.
As you roll out this vibrant treat, memories of family gatherings and laughter flood your mind, reminding you how simple ingredients can spark joy. Whether enjoyed as an afternoon pick-me-up or as a healthy addition to lunchboxes, this homemade creation promises to bring smiles and excitement to anyone who takes a bite. Get ready to unleash the magic of flavors that will have everyone asking for more!
Why Is fruit roll up recipe So Irresistibly Good?
Quick and easy: With just 15 minutes of prep and 240 minutes in the oven, you’ll have a delightful snack ready.
Healthy choice: Packed with your favorite fruits like strawberries or mangoes, it’s a nutritious treat for kids.
Customizable sweetness: Adjust the honey or maple syrup to match your family’s taste preferences.
Bright flavors: A splash of lemon juice enhances the fruit’s natural sweetness while keeping colors vibrant.
Crowd-pleaser: These homemade fruit roll-ups are perfect for lunchboxes, parties, or a fun activity with the kids!
fruit roll up recipe Ingredients
- 2 cups fresh fruit (e.g., strawberries, mangoes, or apples) – Choose your favorite fruits for a personalized flavor that kids will love.
- 1 tablespoon honey or maple syrup – Adjust sweetness to taste; honey adds a lovely floral note while maple syrup gives a rich depth.
- 1 tablespoon lemon juice – This brightens the flavor and helps preserve the vibrant color of your fruit roll-ups.
Directions: fruit roll up recipe
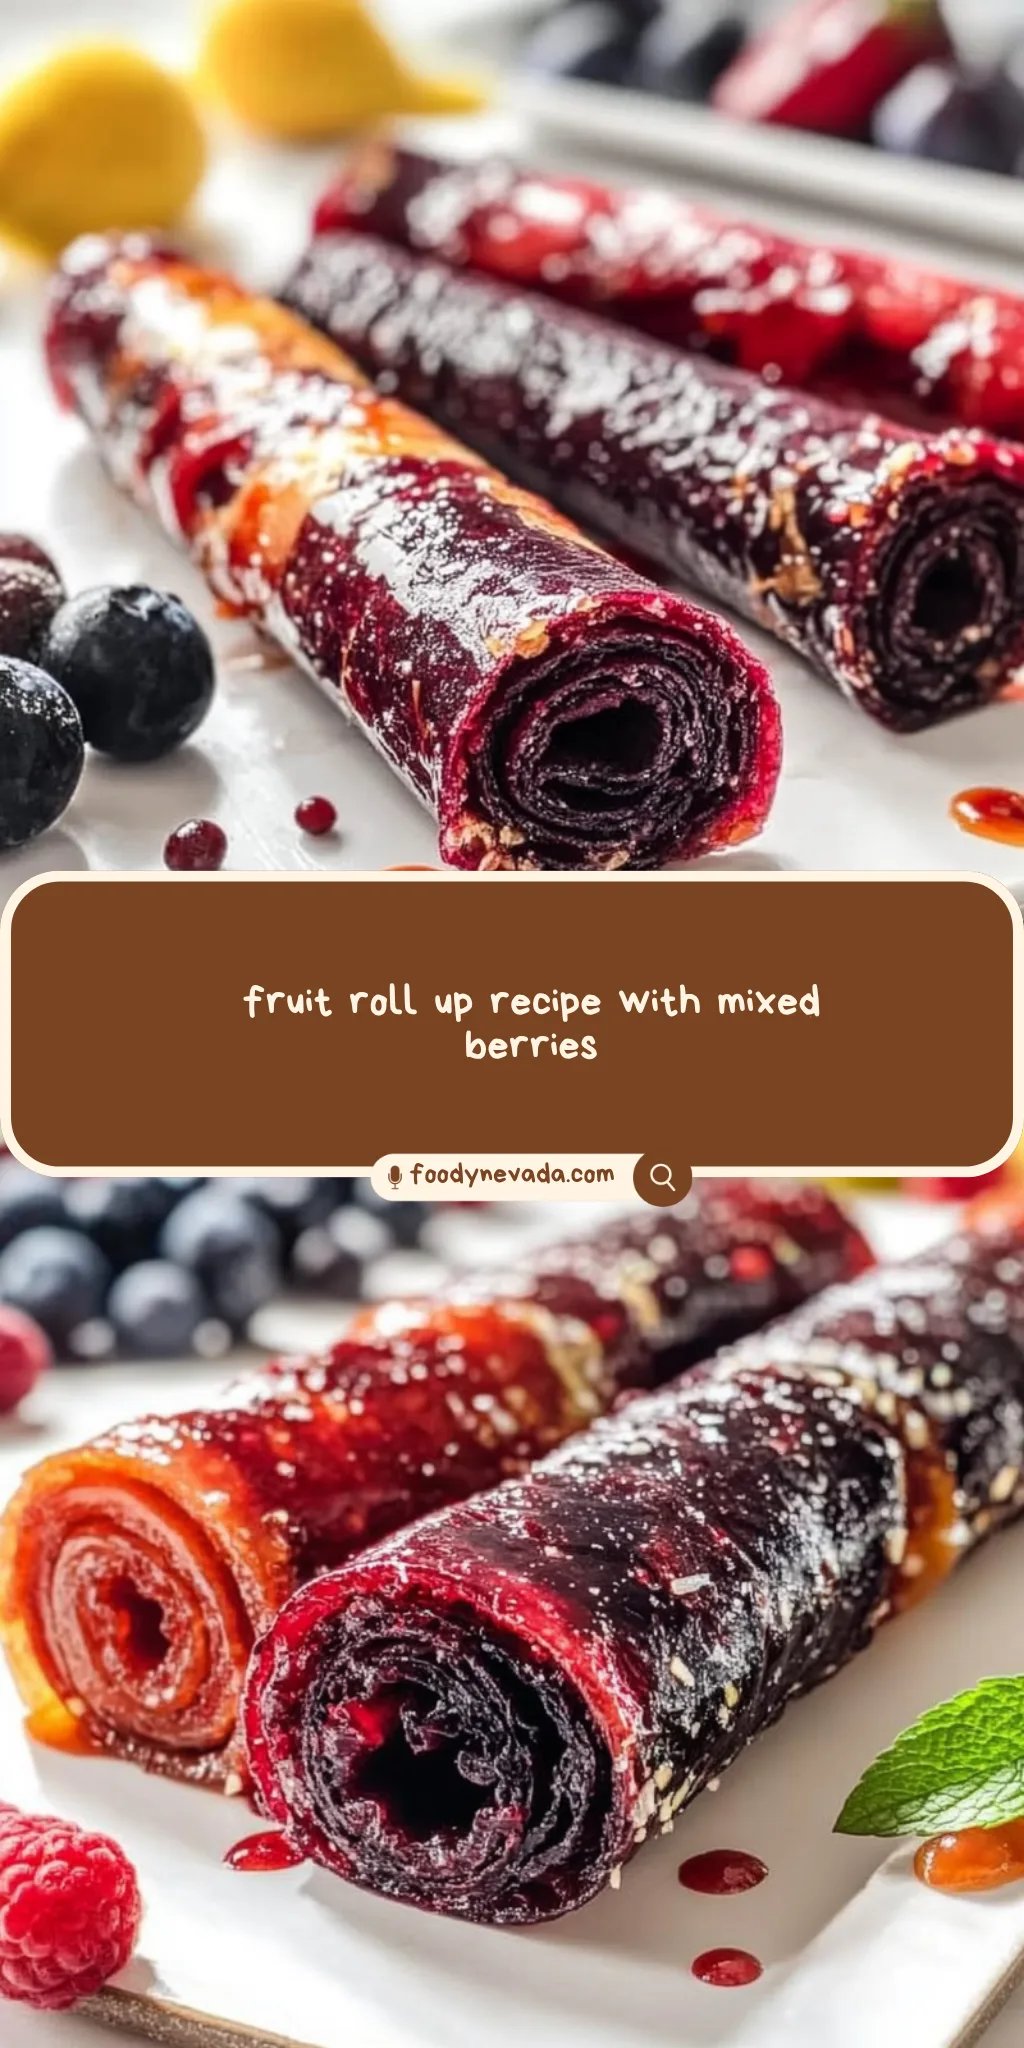
1. Wash and chop the fresh fruit into small pieces.
Start with 2 cups of your favorite fruits, like strawberries, mangoes, or apples. This will add a burst of flavor and color to your snack!
2. Blend the fruit in a blender until smooth.
Enjoy the vibrant colors as you blend until you achieve a silky puree. This should take about 1-2 minutes for the best texture.
3. Add honey or maple syrup and lemon juice, then blend again until combined.
Mix in 1 tablespoon of honey or maple syrup for sweetness and 1 tablespoon of lemon juice to enhance flavor and preserve that beautiful color.
4. Preheat the oven to 170°F (75°C).
This low temperature will slowly dehydrate your fruit puree into delicious, chewy roll-ups without cooking away the nutrients.
5. Line a baking sheet with parchment paper.
Ensure the parchment is spread smoothly; this will help prevent sticking when it’s time to remove your homemade treat.
6. Pour the fruit puree onto the prepared baking sheet and spread it evenly with a spatula.
Aim for an even thickness of about 1/8 inch, so it bakes uniformly—this is important for achieving that perfect roll-up texture.
7. Bake in the oven for 4-6 hours, or until the fruit leather is no longer sticky to the touch.
Keep an eye on it after about 4 hours; it should feel firm but slightly pliable when done.
8. Remove from the oven and let it cool completely.
Patience is key here! Letting it cool allows the flavors to settle and enhances that delightful chewy texture.
9. Peel off the parchment paper and cut into strips or shapes once cooled.
Use scissors for easy cutting; this fun shape makes them even more appealing for kids—and adults too!
Optional: Roll up strips and tie with twine for a charming presentation!
Exact quantities are listed in the recipe card below.
Pro Tips for fruit roll up recipe
- Choose Ripe Fruits: Always use ripe, sweet fruits for the best flavor. Overripe fruits can lead to an overly sticky texture.
- Adjust Sweetness: Start with less honey or maple syrup, then taste the puree. Add more if needed to suit your family’s preference.
- Smooth Puree Required: Ensure your fruit puree is completely smooth before baking. Chunky puree will result in uneven drying and a chewy texture.
- Watch the Time: Baking times may vary based on moisture content; check frequently after 4 hours to avoid over-drying the fruit roll-up recipe.
- Cool Completely: Let the fruit leather cool fully on the parchment paper before cutting. This helps it firm up and makes slicing easier.
- Storage Tips: Store cut strips in an airtight container, separating layers with parchment paper to prevent sticking. Enjoy them fresh!
How to Store and Freeze fruit roll up recipe
- Room Temperature: Enjoy your fruit roll-ups fresh for up to 2 hours. If serving at a picnic or party, keep them in a covered container to maintain freshness.
- Fridge: Store any leftover fruit roll-ups in an airtight container in the refrigerator for up to 5 days. This keeps them chewy and delicious while preventing spoilage.
- Freezer: For longer storage, freeze your fruit roll-ups by wrapping them individually in plastic wrap and placing them in a freezer-safe bag. They can last up to 3 months!
- Thawing: When ready to enjoy, simply remove from the freezer and let sit at room temperature for about 30 minutes. No reheating needed!
fruit roll up recipe Your Way
Let your creativity shine by choosing different fruits and flavors to craft your own delightful snacks!
- Tropical Twist: Substitute mangoes with pineapple for a refreshing, tropical flavor. The sweetness of pineapple pairs beautifully with the tangy lemon juice, creating a sunny treat for kids.
- Berry Blast: Mix in blueberries or raspberries for a burst of color and flavor. These berries not only add vibrant hues but also pack a nutritional punch that kids will love.
- Apple Cinnamon: Use apples and add a sprinkle of cinnamon for a cozy fall-inspired snack. The warmth from the cinnamon combined with the juicy apples will remind you of homemade apple pie.
- Citrus Zing: Incorporate oranges or tangerines to give your fruit rolls a zesty kick. The bright citrus notes elevate the taste while adding vitamin C to boost immunity.
- Peach Perfection: Replace strawberries with ripe peaches for a sweet, summery flavor. Peaches bring a luscious texture that melts in your mouth, making them irresistible to little ones.
- Spicy Surprise: Add a dash of cayenne pepper when using mangoes for an unexpected heat. This spicy twist will awaken their taste buds and introduce them to new flavors in a fun way.
- Nutty Crunch: Blend in finely chopped nuts like almonds or walnuts for added texture. The crunchiness complements the chewy fruit roll, creating an exciting contrast that’s sure to delight.
- Creamy Delight: Mix in avocado with your fruit choice for an ultra-creamy snack. This unexpected ingredient boosts healthy fats while maintaining that beloved fruit roll-up texture.
Make Ahead Options

Preparing this fruit roll up recipe is a fantastic way to streamline your meal prep while providing healthy snacks for your kids. You can wash and chop the fresh fruit—like strawberries, mangoes, or apples—up to 24 hours in advance, making the blending process a breeze. Simply blend the fruit until smooth, adding honey or maple syrup and lemon juice for that perfect touch of sweetness and flavor. Once you’ve prepped your fruit puree, you can store it in an airtight container in the fridge for up to 3 days before baking. When you’re ready to finish the fruit roll up recipe, just preheat your oven, line your baking sheet, and pour out the puree as directed. This method not only saves time but also ensures freshness and quality in every delicious bite!
fruit roll up recipe Questions Answered
What fruits work best for this fruit roll up recipe?
You can use a variety of fresh fruits for this recipe! Strawberries, mangoes, and apples are fantastic choices, but feel free to get creative. Try mixing different fruits like peaches or blueberries for a unique flavor. The key is to ensure your fruits are ripe and sweet for the best taste.
Can I adjust the sweetness in my fruit roll ups?
Absolutely! The 1 tablespoon of honey or maple syrup is just a guideline. Depending on the natural sweetness of your chosen fruits, you might want to add more or less. Start with a small amount and taste your puree before baking — it’s all about finding that perfect balance for your family’s palate!
How should I store my homemade fruit roll ups?
Once cooled, store your fruit roll ups in an airtight container at room temperature for up to a week. If you want them to last longer, consider wrapping each strip in parchment paper and placing them in the fridge, where they can stay fresh for up to two weeks.
Can I freeze these fruit roll ups?
Definitely! Freezing is a great option if you want to enjoy your fruit roll ups later. Just make sure they are completely cool before wrapping them tightly in plastic wrap or placing them in a freezer-safe bag. They can be frozen for up to three months — just thaw at room temperature when you’re ready to eat!
What should I do if my fruit leather is still sticky after baking?
If your fruit roll ups are still sticky after 4-6 hours of baking at 170°F (75°C), they may need more time in the oven. Check every 30 minutes until they no longer feel tacky to the touch and have a consistent leather-like texture. Just remember that humidity can affect drying time too!
How many servings does this recipe make?
This delightful fruit roll up recipe yields about 4 servings, with each serving containing approximately 70 calories. If you’re making these as snacks for kids or entertaining guests, consider doubling the recipe so everyone gets their fill of these wholesome treats!
Fruit Roll-Up
Ingredients
Method
- Wash and chop the fresh fruit into small pieces.
- Blend the fruit in a blender until smooth.
- Add honey or maple syrup and lemon juice, then blend again until combined.
- Preheat the oven to 170°F (75°C).
- Line a baking sheet with parchment paper.
- Pour the fruit puree onto the prepared baking sheet and spread it evenly with a spatula.
- Bake in the oven for 4-6 hours, or until the fruit leather is no longer sticky to the touch.
- Remove from the oven and let it cool completely.
- Once cooled, peel off the parchment paper and cut into strips or shapes.